Table of Contents
What I want to accomplish
- Attach the edge strips to the base.
What I've done
Never enough clamps
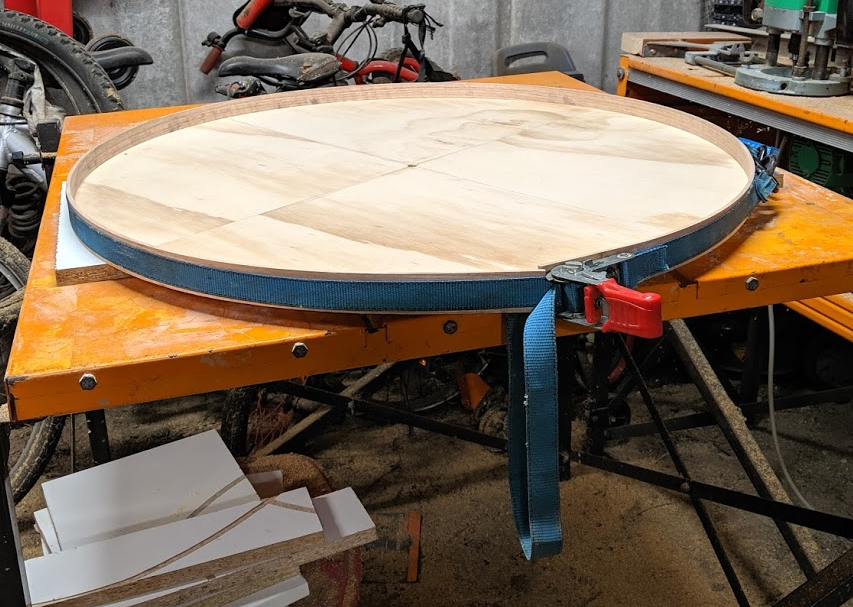
After bending I left the edge wood to dry for a few days. I then strapped the edge strip to the bottom board with a ratchet strap. I would eventually snip off the strap hooks and tie the loose ends together to avoid the hooks damaging the wood. This strap technique is pretty fiddly and frustrating, especially once everything's covered in glue. I trimmed the end of the strip with a chisel by gradually shaving off strips until they fit perfectly flush.
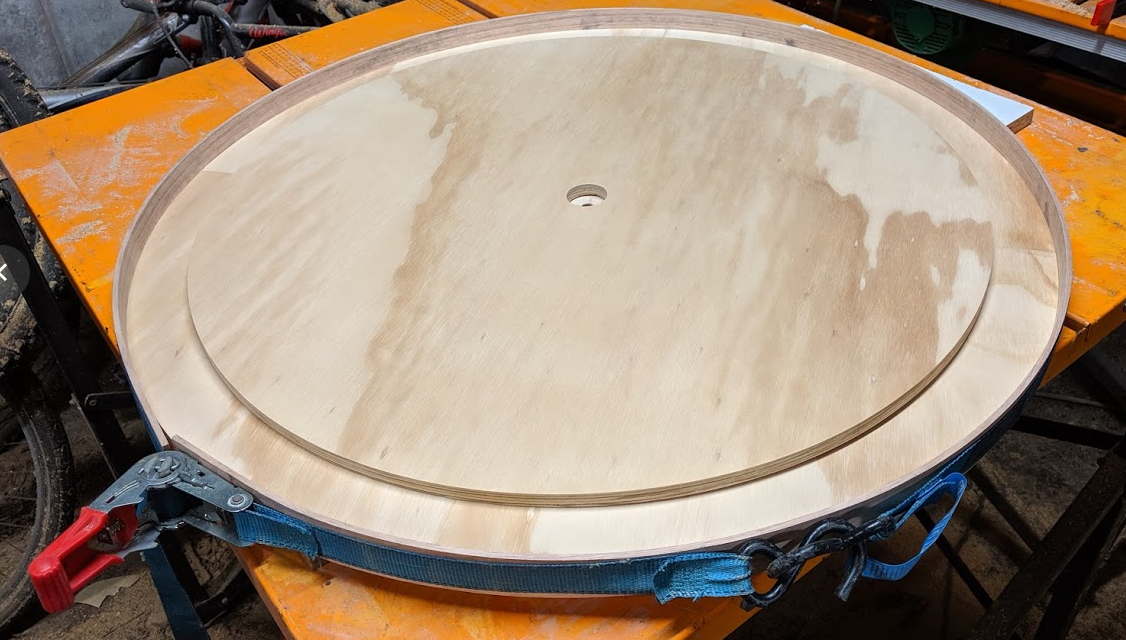 With the top piece sitting on top to check for any significant mismeasurements.
I gave the inside of the edge band a good sanding to remove the black metal stains. It only took a light sanding to get them off. Phew. I liberally applied PVA glue and strapped the ring back onto the base. Somehow the edges were about 1.5mm apart now, rather than being flush together. Grr.
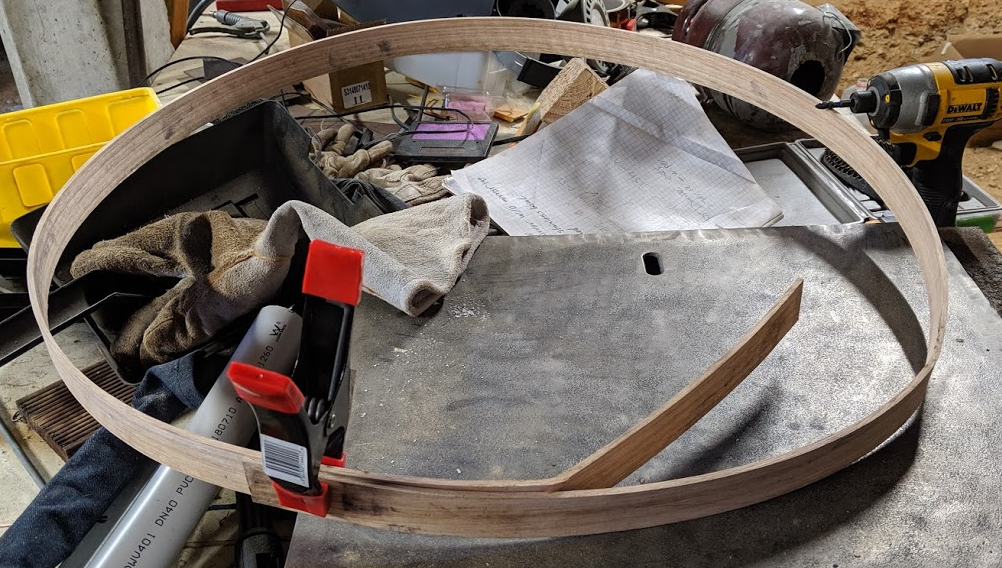
I put the ends of the second band back into the steamer pipe to see if I could get the curve to continue all the way to the end of the strip. Instead the wood got too soft and buckled. Bummer. I had to go and buy another piece. This would've been necessary anyway, since after the inner strip added to the diameter of the circle, the second strip would've had to have been 13mm longer. I did the outer band in two pieces.
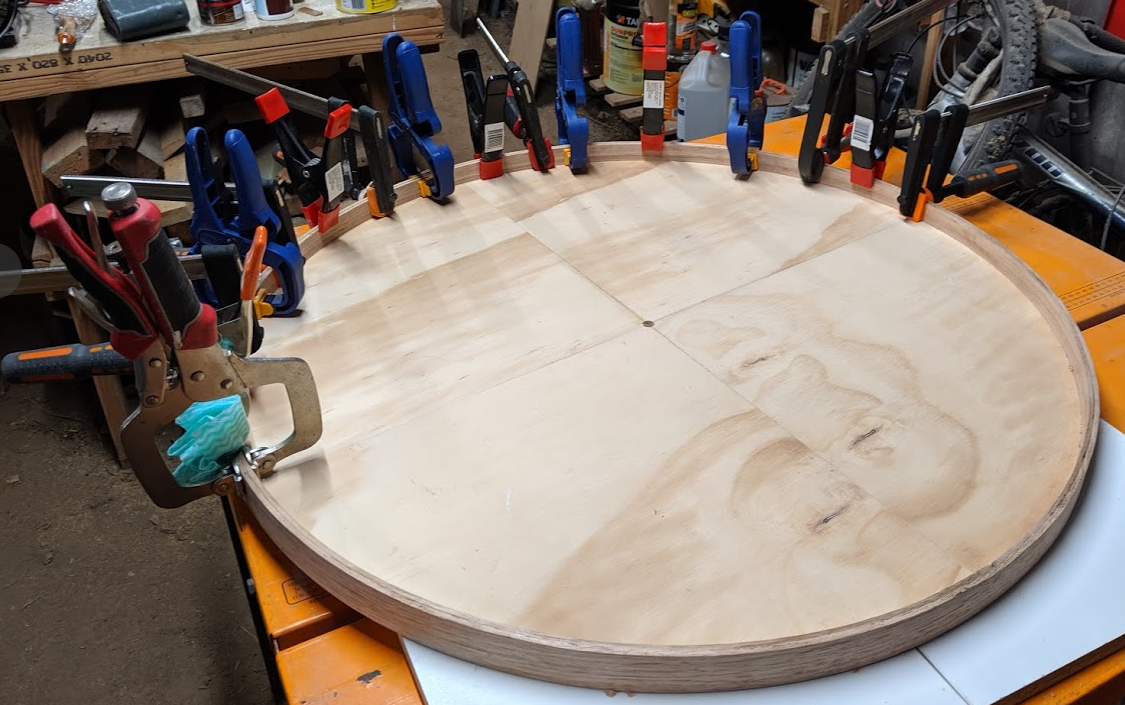
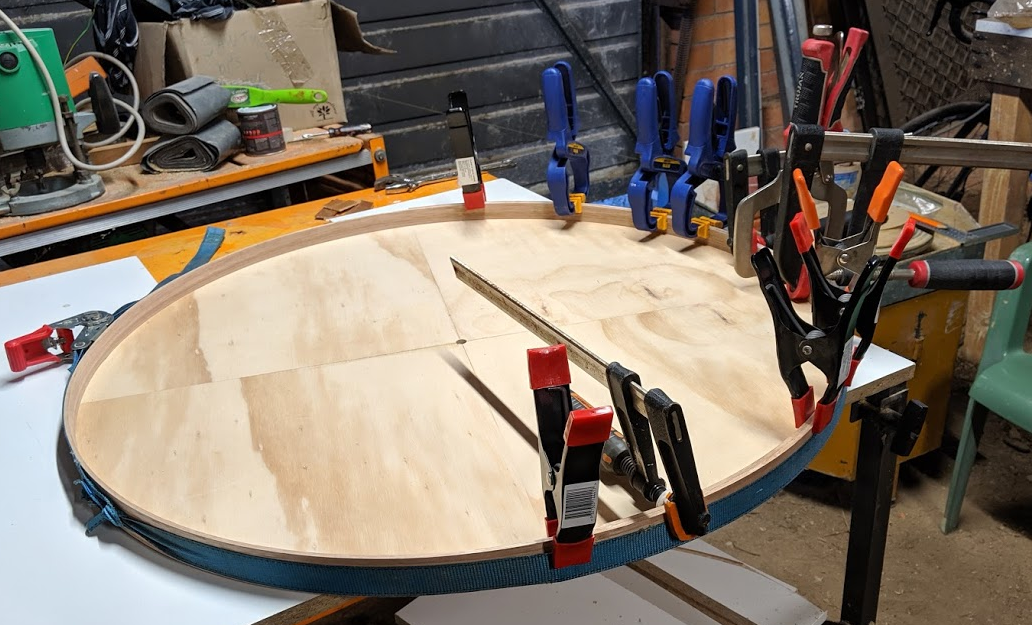 Where we're going, we will need clamps to clamp.
It was much easier to apply this second layer with something to clamp to. I ended up with some gaps between the two layers after the glue dried. I worked some PVA into the gap with a brush and pinched the edge with a clamp. This worked well. The two joins in the outer ring look very nice, almost perfectly flush. I'm happy with how they look. If I were to do this again I would probably reduce the diameter of the circle a little such that the outer band was a bit under 2.4m, so I could use a whole strip and only have one join per edge layer.
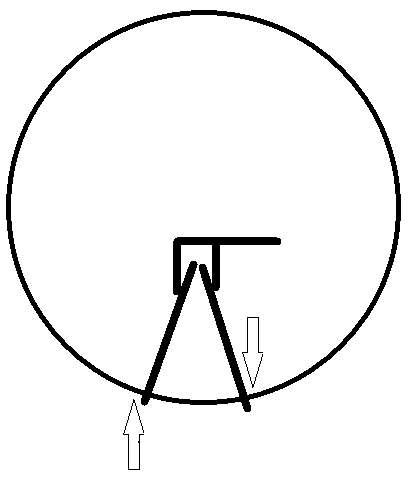
It was a bit tricky to get the circular bend of the strip to continue all the way to the end. I came up with a good solution to this, but unfortunately I didn't get a photo. You'll have to endure mspaint.
The arrows mark the ends of the wood. I overlapped the ends by about 300mm and put an F clamp on each, holding the end to the curve. I then clamped the ends of the clamps together to enforce the bend. The length of the F clamps was a bit less than the radius of the curve, so the arc was exaggerated a bit. This helped the wood to stay in shape after it dried out.
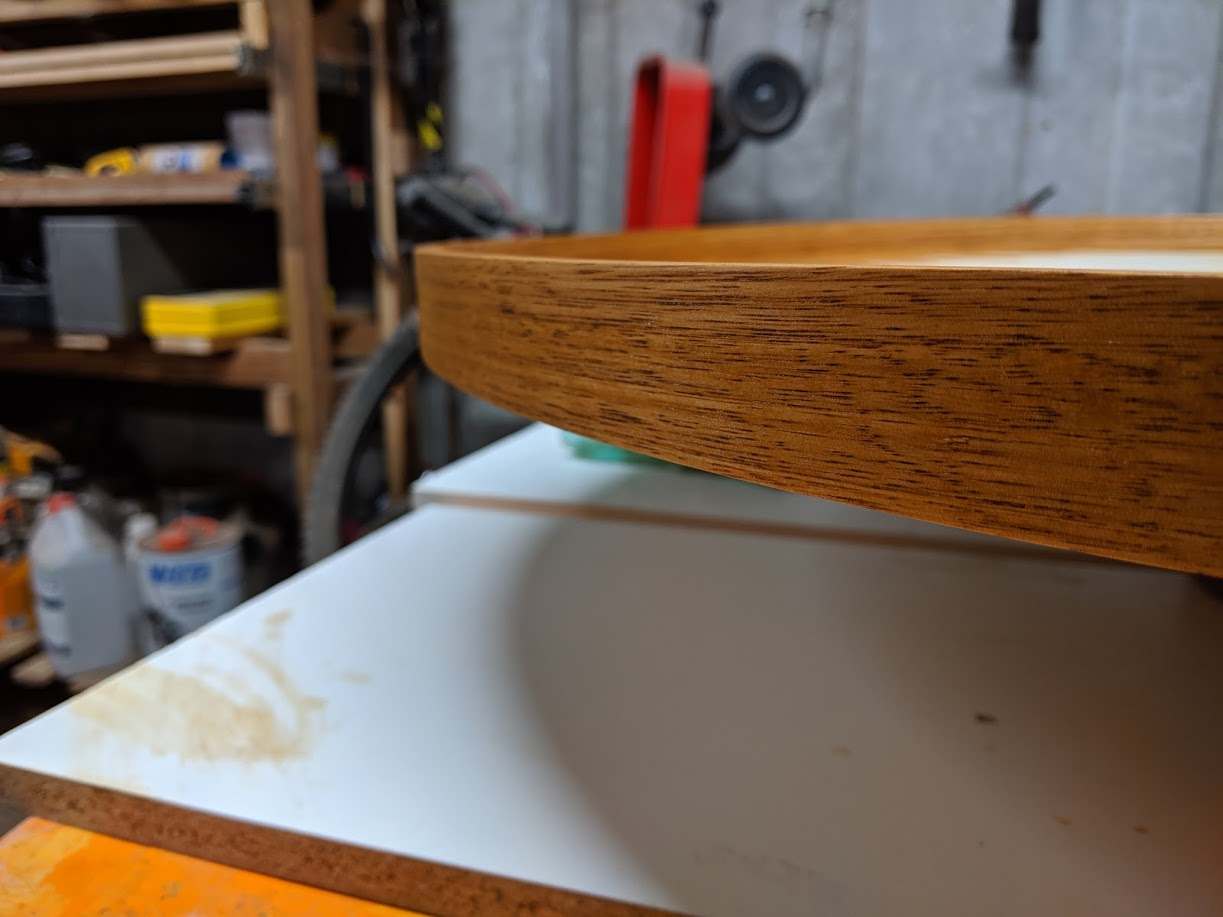
After the glue dried I took off all the clamps and packed the 1.5mm gap in the centre ring with some wood putty. After that dried I gave it a helluva sand. Inside, outside, top, bottom. I planed the bottom of the edge flush with the base and sanded it smooth. I had to shave some strips off the top to get them to match perfectly. I then applied the stain.
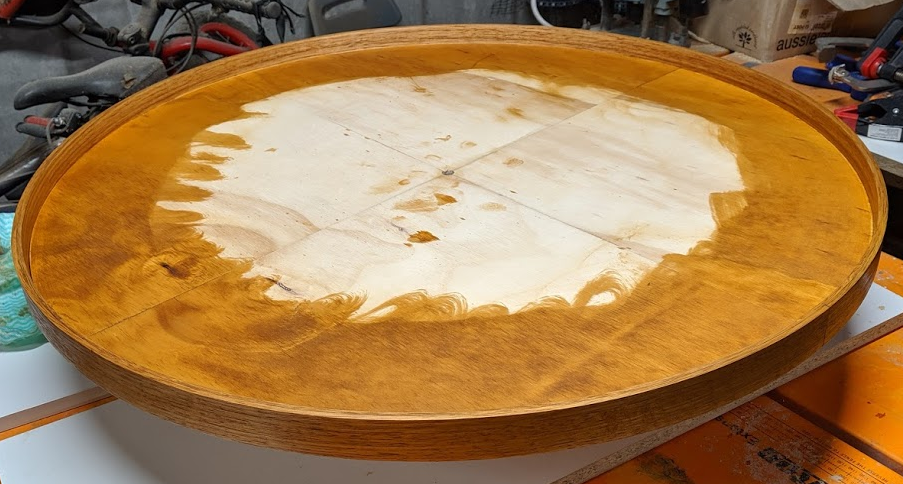 The centre will be covered with the playing surface, so it doesn't need stain.
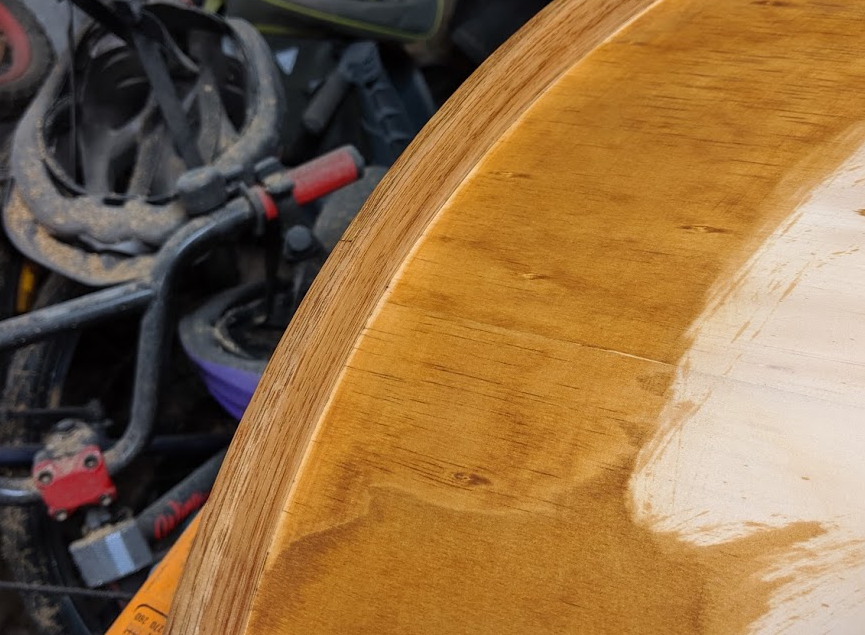
I didn't sand well enough into the inside corners. There was still some PVA left in parts which prevented the stain soaking into the wood. This sucks. I went back in with some sandpaper on a paint scraper, and a chisel, and tried to gently scrape off the PVA. I applied another coat of stain after this. It was somewhat successful, but I'm still not entirely happy with the result.

