Table of Contents
Casting electronics in resin
The Plan
I wanted to run a medium-duration test of the electrically-complete blinker before going through all the trouble and expense of encasing it in aluminium and glass. I decided to cast the electronics in transparent resin. This would be reasonably mechanically and chemically robust, but it would degrade in sunlight over a few years, turning yellow and crumbling. However this would be a reasonable test for any drastic short-term problems with the electronics.
The Results
Success
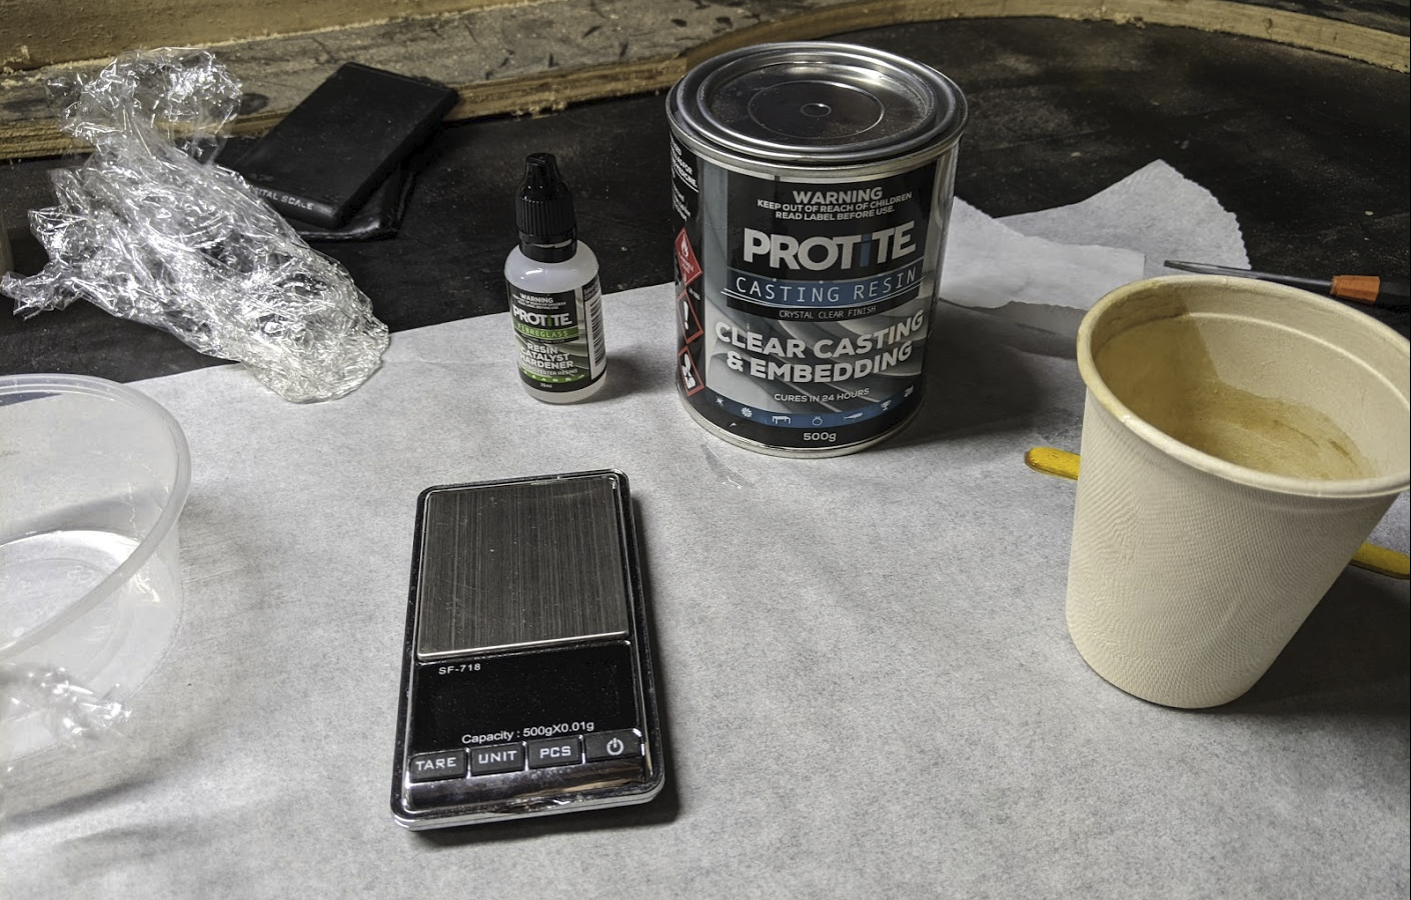
I bought this resin from bunnings. It's a styrene/polyester resin with a MEK catalyst.
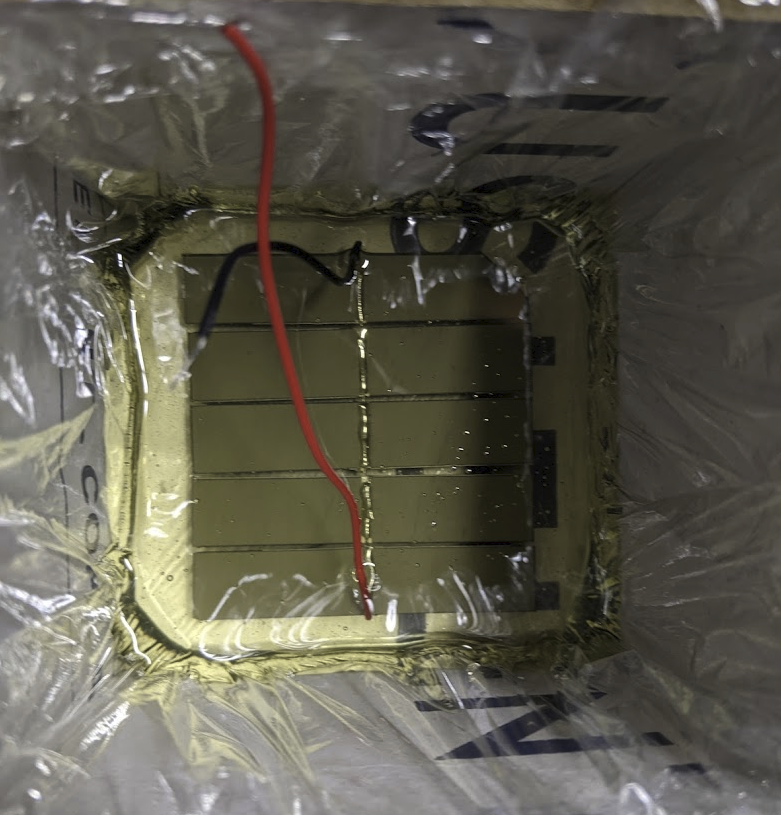
I cut out a cardboard box on the laser cutter and lined it with gladwrap.
Solar cell invested.
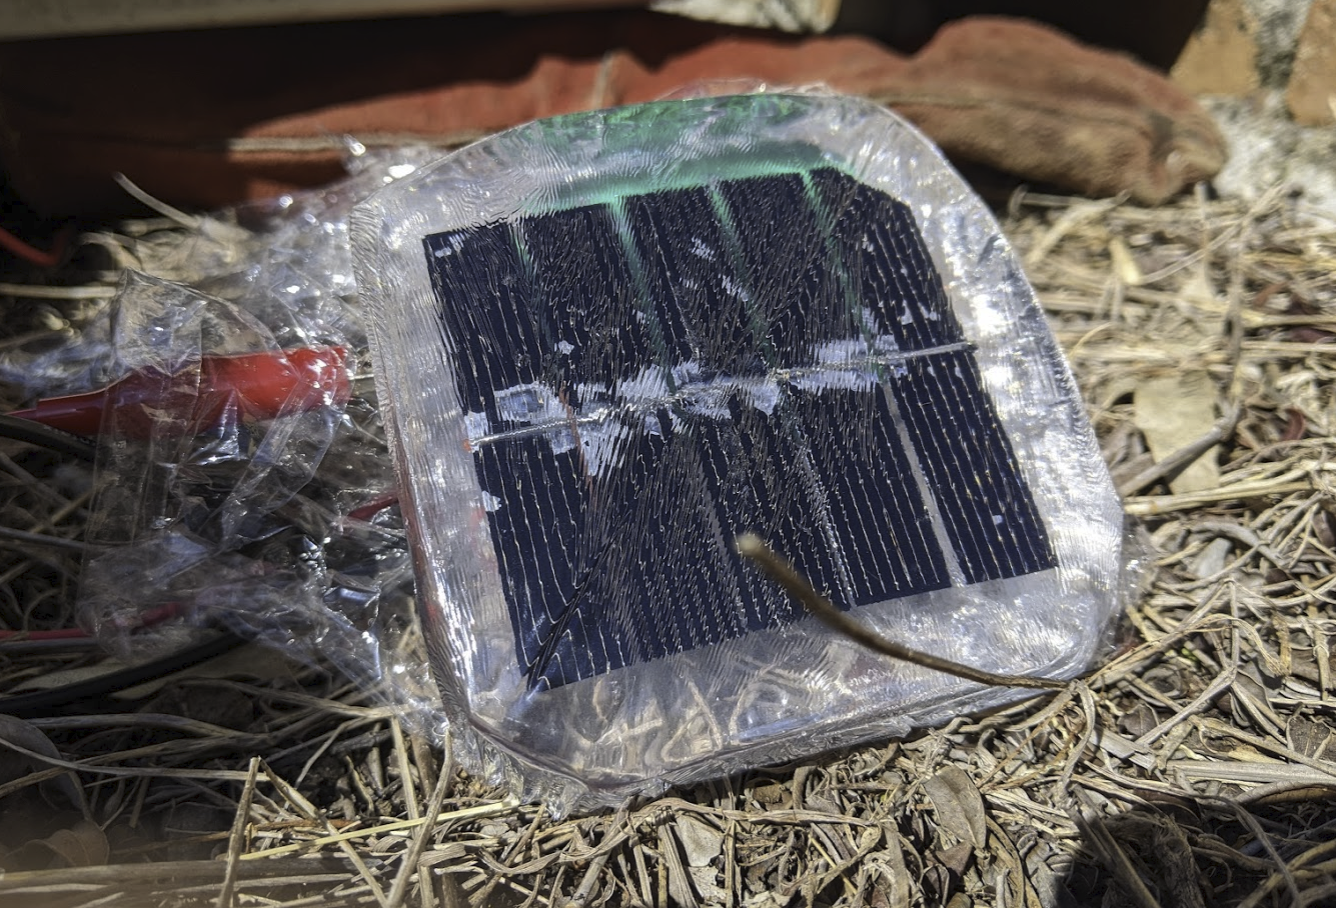
Not too bad!
I was reasonably happy with this result. There is some grey discolouration on the solar cells visible in that photo. That discolouration wasn't present when I took the panel out of the mould. It formed shortly after I put it in the sun for this test. It seems to have been formed by some combination of:
- UV radiation,
- Heat,
- Resin,
- Flux, and/or
- Solder.
In direct sunlight this panel generates 3.1V open circuit voltage, 190mA closed circuit current. That was about double the current I was anticipating. This caused me mild concern as the voltage limiting zener might not be able to keep the voltage down. I could add more in parallel to pass more overvoltage current, but that would increase the passive energy loss in the system considerably.
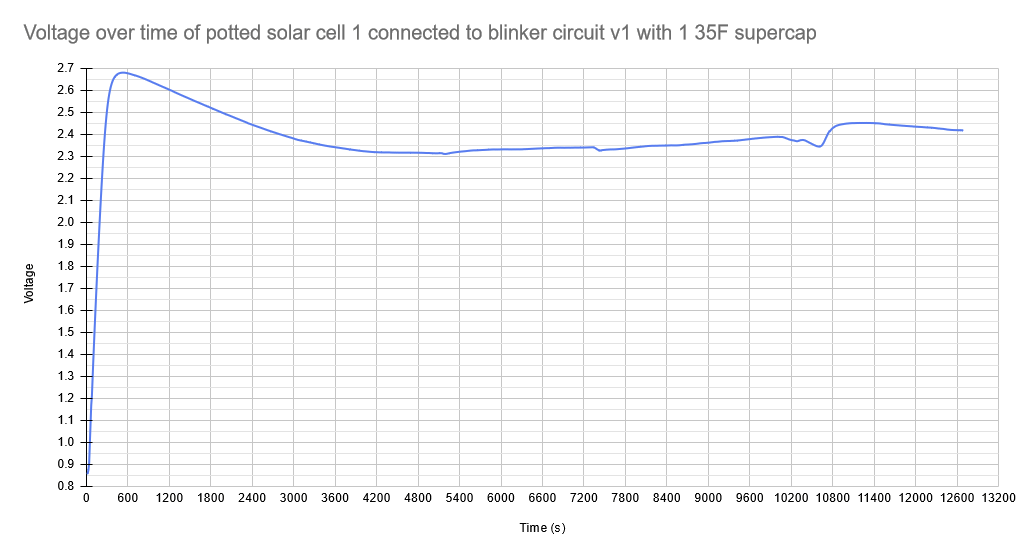
I soldered it to a blinker circuit and put it in the sun:
Awesome!
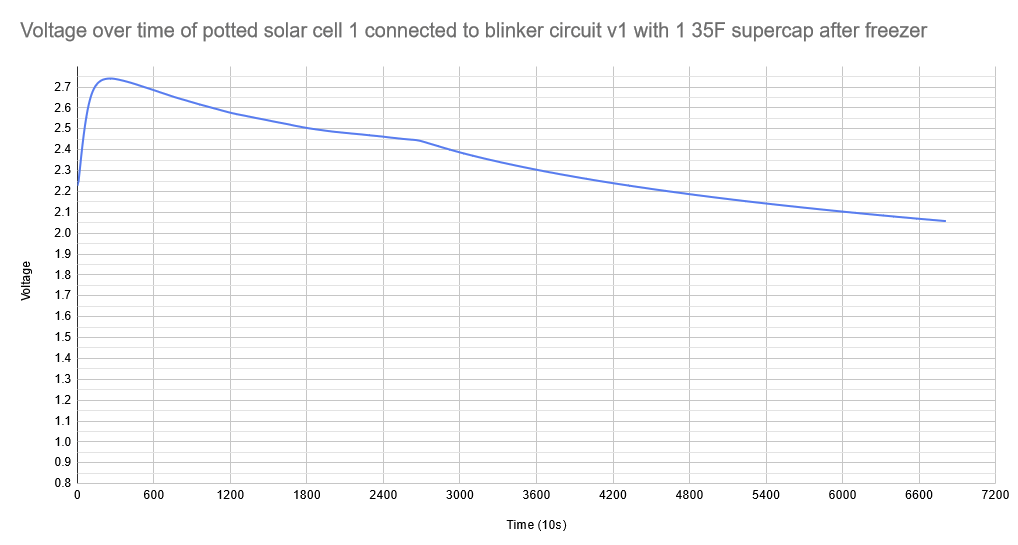
I was puzzling over why the voltage dropped off so quickly. I wanted to check whether it was panel degradation related to the discolouration or due to the panel heating up inside a pretty good thermal insulator. I put the whole shebang in the freezer for a while to see if that had any effect.
This seemed to indicate that the voltage limit was related to the temperature of the panel. Part of the way through this test the panel fell into shade, probably at the inflection point at 2710 seconds.
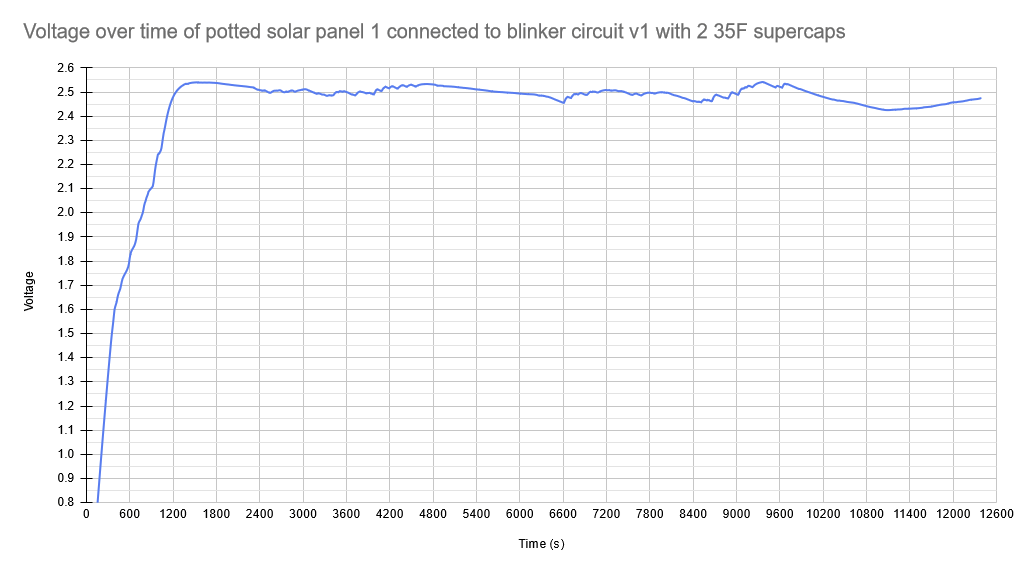
I built a new blinker with two 35F supercaps attached and ran another test.
Looking good!
Failure
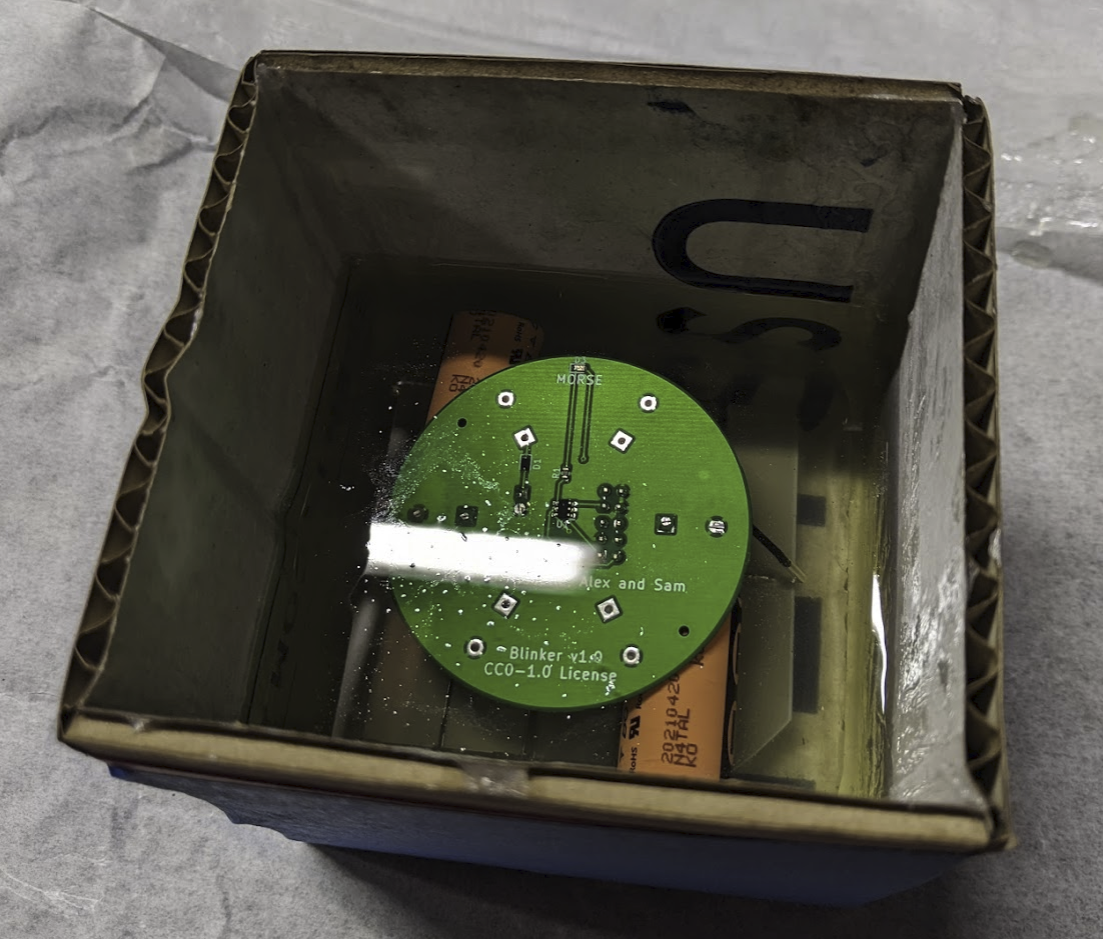
Following from my success investing the solar cells in resin I decided to cast the electronics to the back of the cast panels.
I used the same cardboard box as previous, however I smeared vaseline over the inside to prevent the resin soaking into the cardboard. That part worked great, aside from the thin layer of goo over the resulting casting.
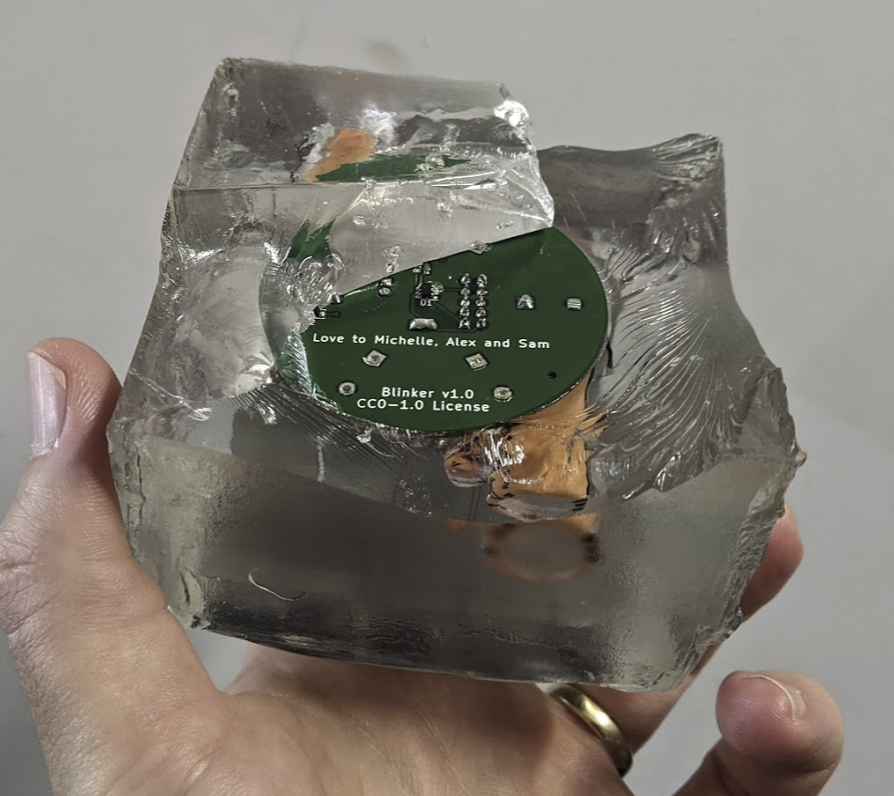
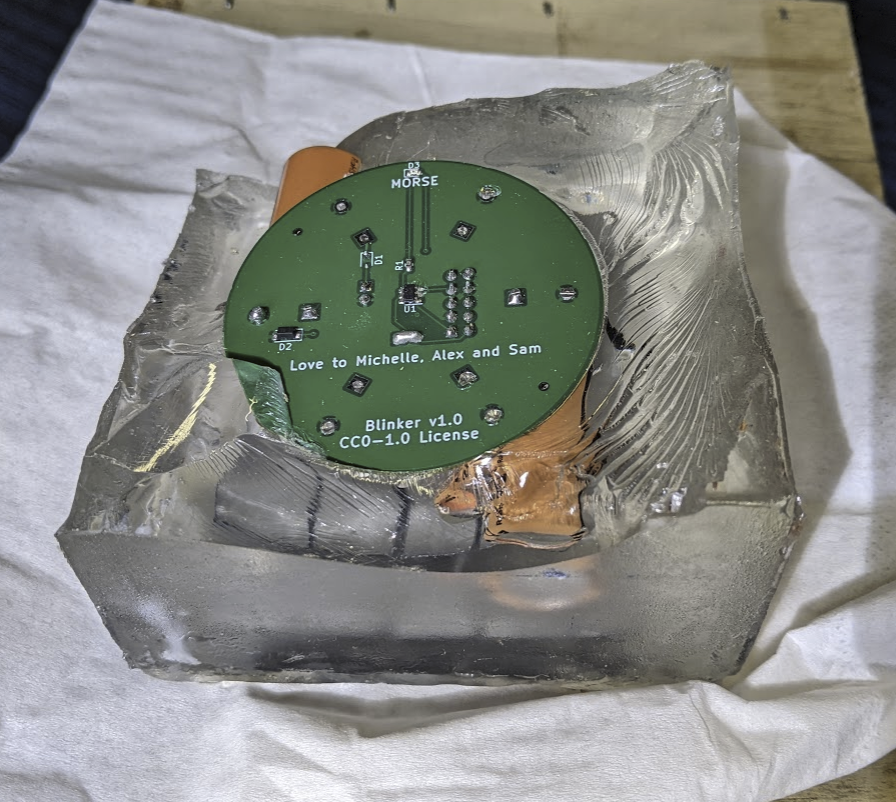
I had previously sought advice from knowledgeable folk, like Zak Crow of Hackerspace Brisbane, on the details of using castable resins. They had warned me of the dangers of pouring too much resin in one go. I got cocky and poured too much in one go, with bad results:
The resin shrank and cracked as it set. I was able to chip off most of the prominent chunks.
And I attempted to cast a new layer over the top to seal it all up. This new layer cracked off as it set, knocking off the backflow protection diode in the process. :(
Dissolving cast polyester resin
I wanted to try to salvage the electronics trapped in this failed casting. I had noticed that isopropyl alcohol made the surface of the cast solar cell a little tacky, so I submerged some chunks of solid resin in IPA overnight:
It had no effect.
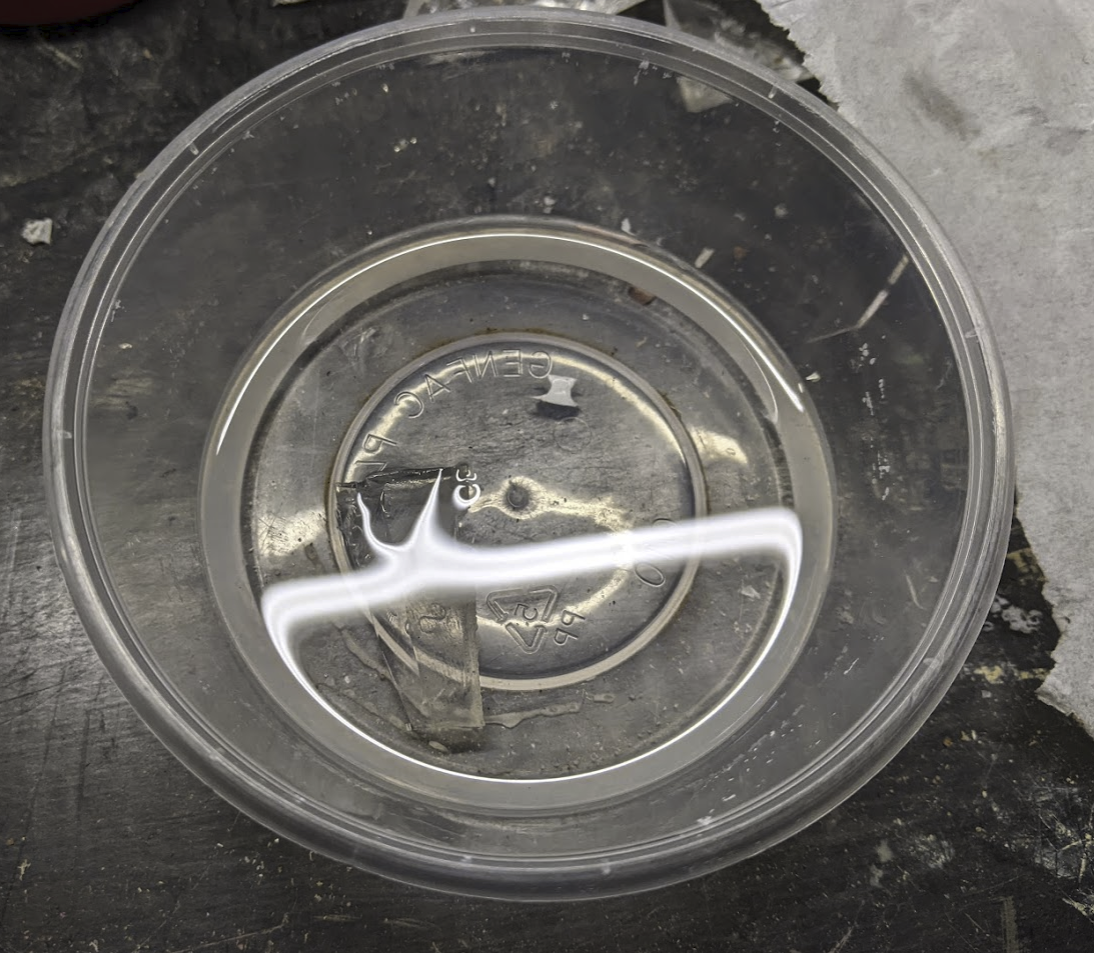
I also tried Methyl Ethyl Ketone (MEK). Nothing happened after an hour or so, so I added a splash of IPA to see if their power combined would have any effect. I left it overnight and found this in the morning:
The resin had started to crumble away. I'm not sure if this was the effect of the MEK+time alone or a result of the MEK+IPA+time combo.
I was able to salvage the diode from this cast block, unfortunately I dropped it into the carpet in my office and it was gone forever.
Better casting mould
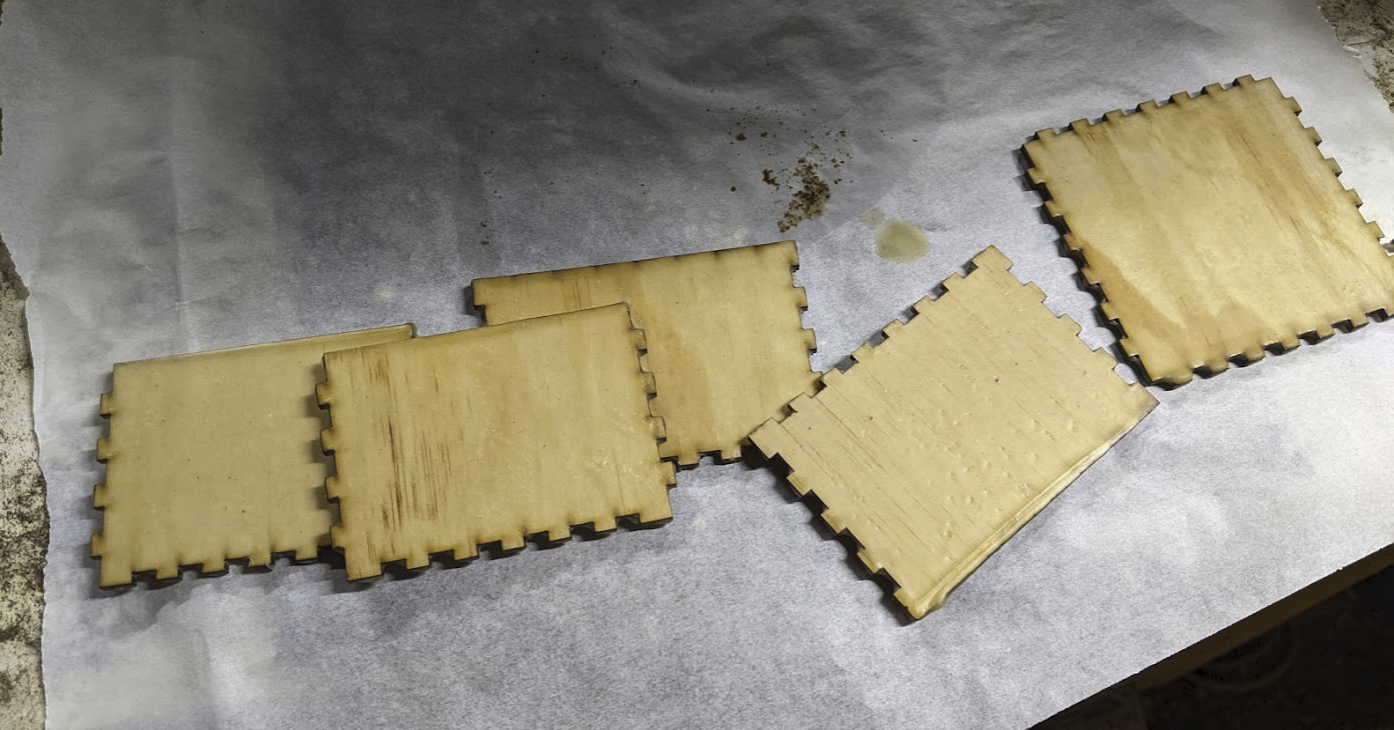
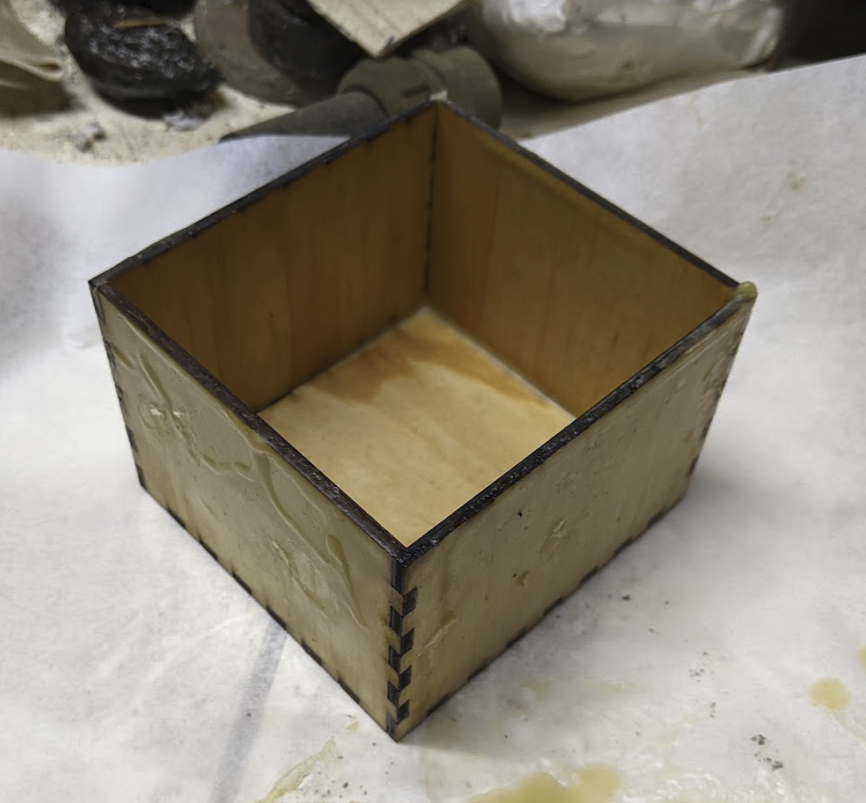
Getting good dimensional control with a cardboard mould was hard, so I cut one out of 3mm plywood. The pattern was generated by a great OpenSCAD box generation library.
I happened to be rendering some beeswax at the time, so I dipped the panels in wax before assembly.
