This is an old revision of the document!
Table of Contents
What I want to accomplish
- Finish the playing surface.
What I've done
The final coat
This became a running joke in our household. “I'm going downstairs for a bit to put the final coat on the crokinole board,” I said. Every second night for about two weeks. I'm not exaggerating. It was hell.
Dust
My first few attempts at a final coat involved sanding with an orbital sander with 240 grit paper down to a matte finish, then a coat of unthinned varnish. The next day I would inspect the dried surface and there would invariably be chunks of dust, or a fruit fly, or some other contaminant. I used the base of the board as a lid to cover up the top surface to keep the dust off while it dried. This helped a bit, but not completely.
Streaks
It seemed no matter how carefully I brushed on the varnish, with a high-quality, well-cared-for finishing brush, I would always end up with streaks in the final finish that could be felt with a fingertip running over the surface. Streaky enough to affect gameplay.
Spray painting
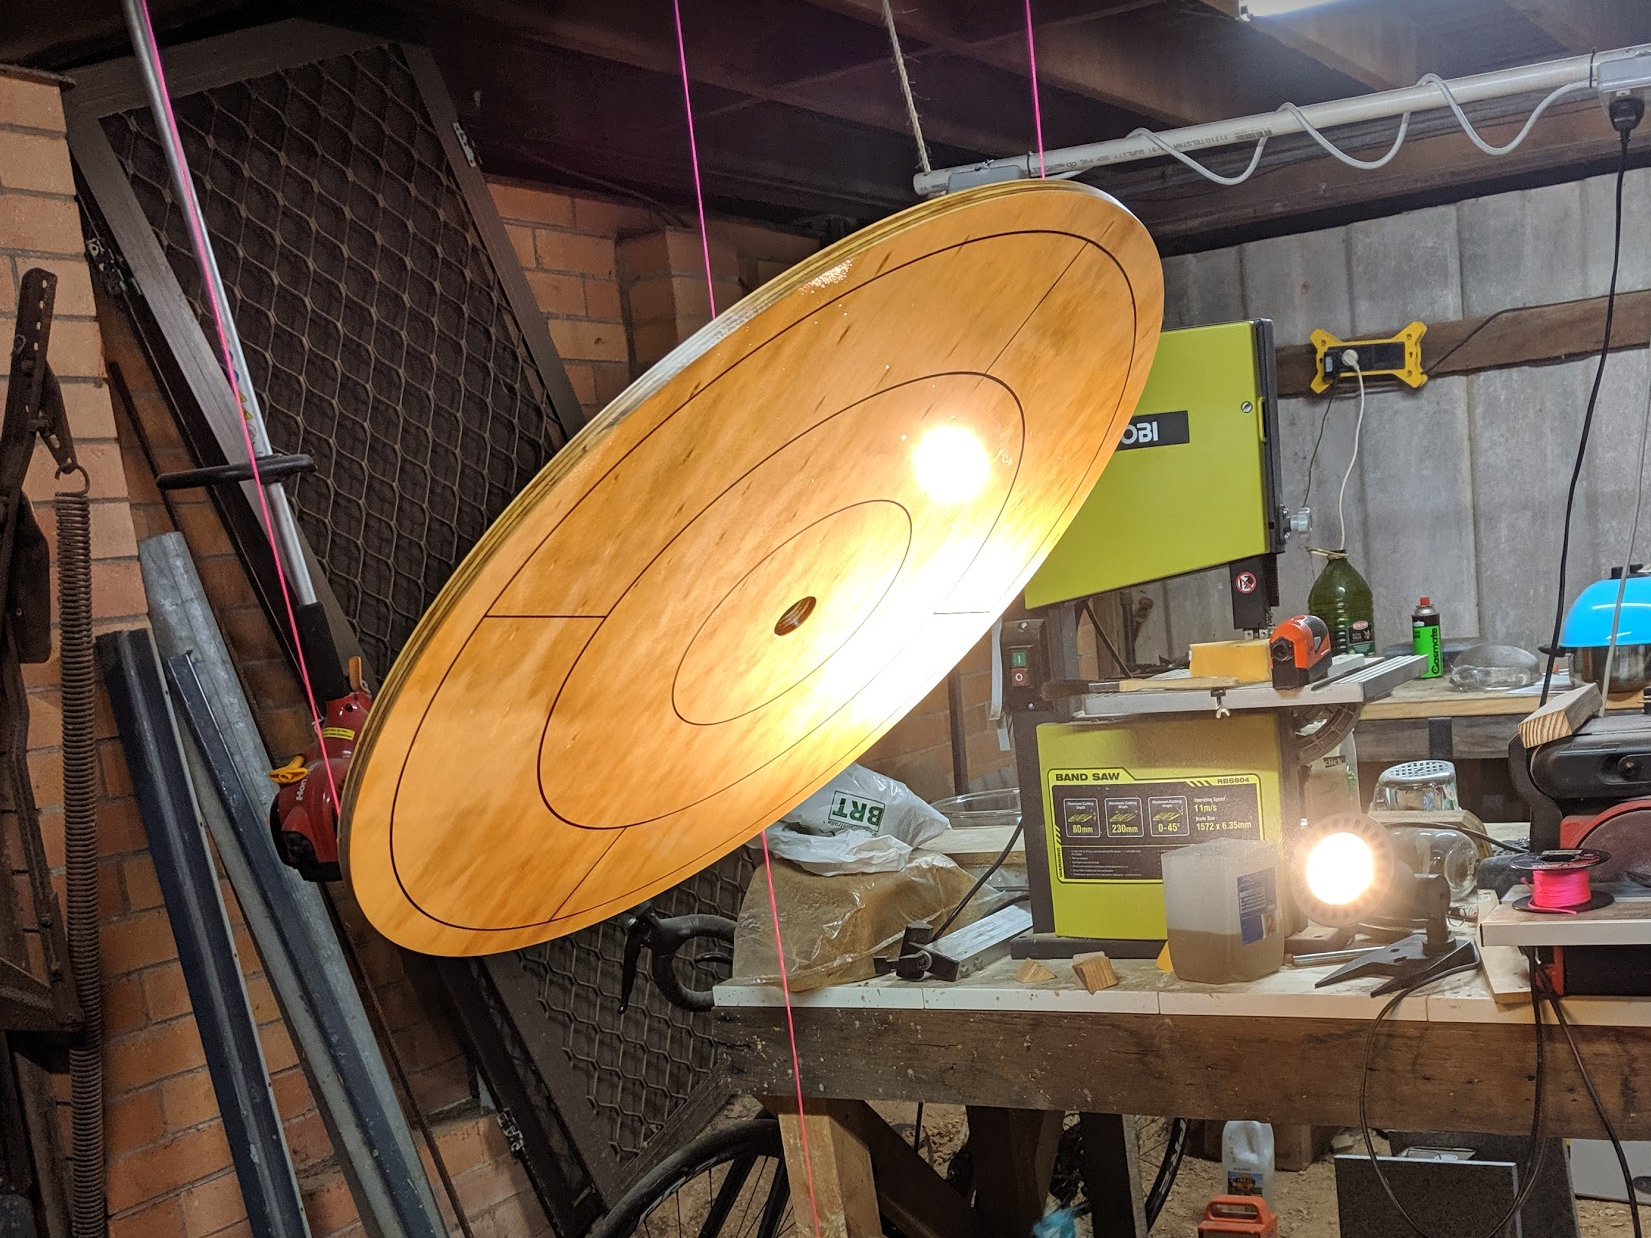
I drilled some small shallow holes in the reverse side of the playing surface and very gingerly, by hand, put in a few screws. I used these screws to hang the board angled face-down from the ceiling. The idea was that dust would not settle on the board. I set up a bright work light off to the side so I could clearly see where I'd sprayed already.
I set up my spraypainting gear. I was surprised to find that the unthinned varnish worked just fine in the spray gun, but only when the tank was at full pressure. As the pressure dropped the flow rate dropped and the sprayed surface got smaller and smaller. I persisted and got excellent even coverage over the whole board with no foreign inclusions. I was very happy. I had a bit of varnish left in the spray gun so I thought I'd do a final pass over the board to catch any tiny spots I'd missed. Of course this put too much varnish on and I got several wide runs down the surface. Sigh.
I spent the next three coats chasing the dragon of that first perfect coat. I never came close. I seemed to have been cursed by my hubris. Every time I'd get runs, or the spray wouldn't work right, or I'd end up with a weird varnish fuzz rather than a good wet coat, or a moth would fly into the jet of varnish and be glued onto the board. I diluted the varnish with some turpentine and tried a very light coat after a sand to matte, but I must've added too much turps as the surface had a crazed pattern after drying.
Between all of these many “final” coats I'd have to sand the surface back to smooth. On one occasion I sanded a bit too much and sanded through one of the lines I'd drawn. I set up my jig and re-marked all of the lines. This largely went well.
Back to brushing
I gave up on spray painting and went back to the brush. I tried using a rag to rub on the thinned varnish, but couldn't get a nice finish. I then tried brushing on the diluted varnish and had equally poor results. I ended up going back to unthinned varnish and the brush, vowing that this would definitely, absolutely be the last coat ever.
Final sanding
I had been doing my between-varnish sanding passes with 120 and then 240 grit sandpaper. I bought a new orbital sander with functional dust extraction that I could hook up to my shopvac. My old orbital sander had been repaired and the dust extraction holes were full of liquid nails. With this new sander I could get a good matte finish, but I wanted something nice and glossy.
I have a roll of 600 grit sandpaper, but I found that it would quickly clog when trying to polish up the 240 grit surface. After trying polishing with scotch-brite and 0000 steel wool without much success, I realised the 600 grit paper was wet and dry. I used water to unclog the paper and it worked brilliantly. I was able to get a very even, smooth result across the whole surface by smoothing out the streaks on the final unthinned varnish coat with the 240 dry, then moving to the 600 wet. It took about an hour but I was very happy with the end result.
Waxing
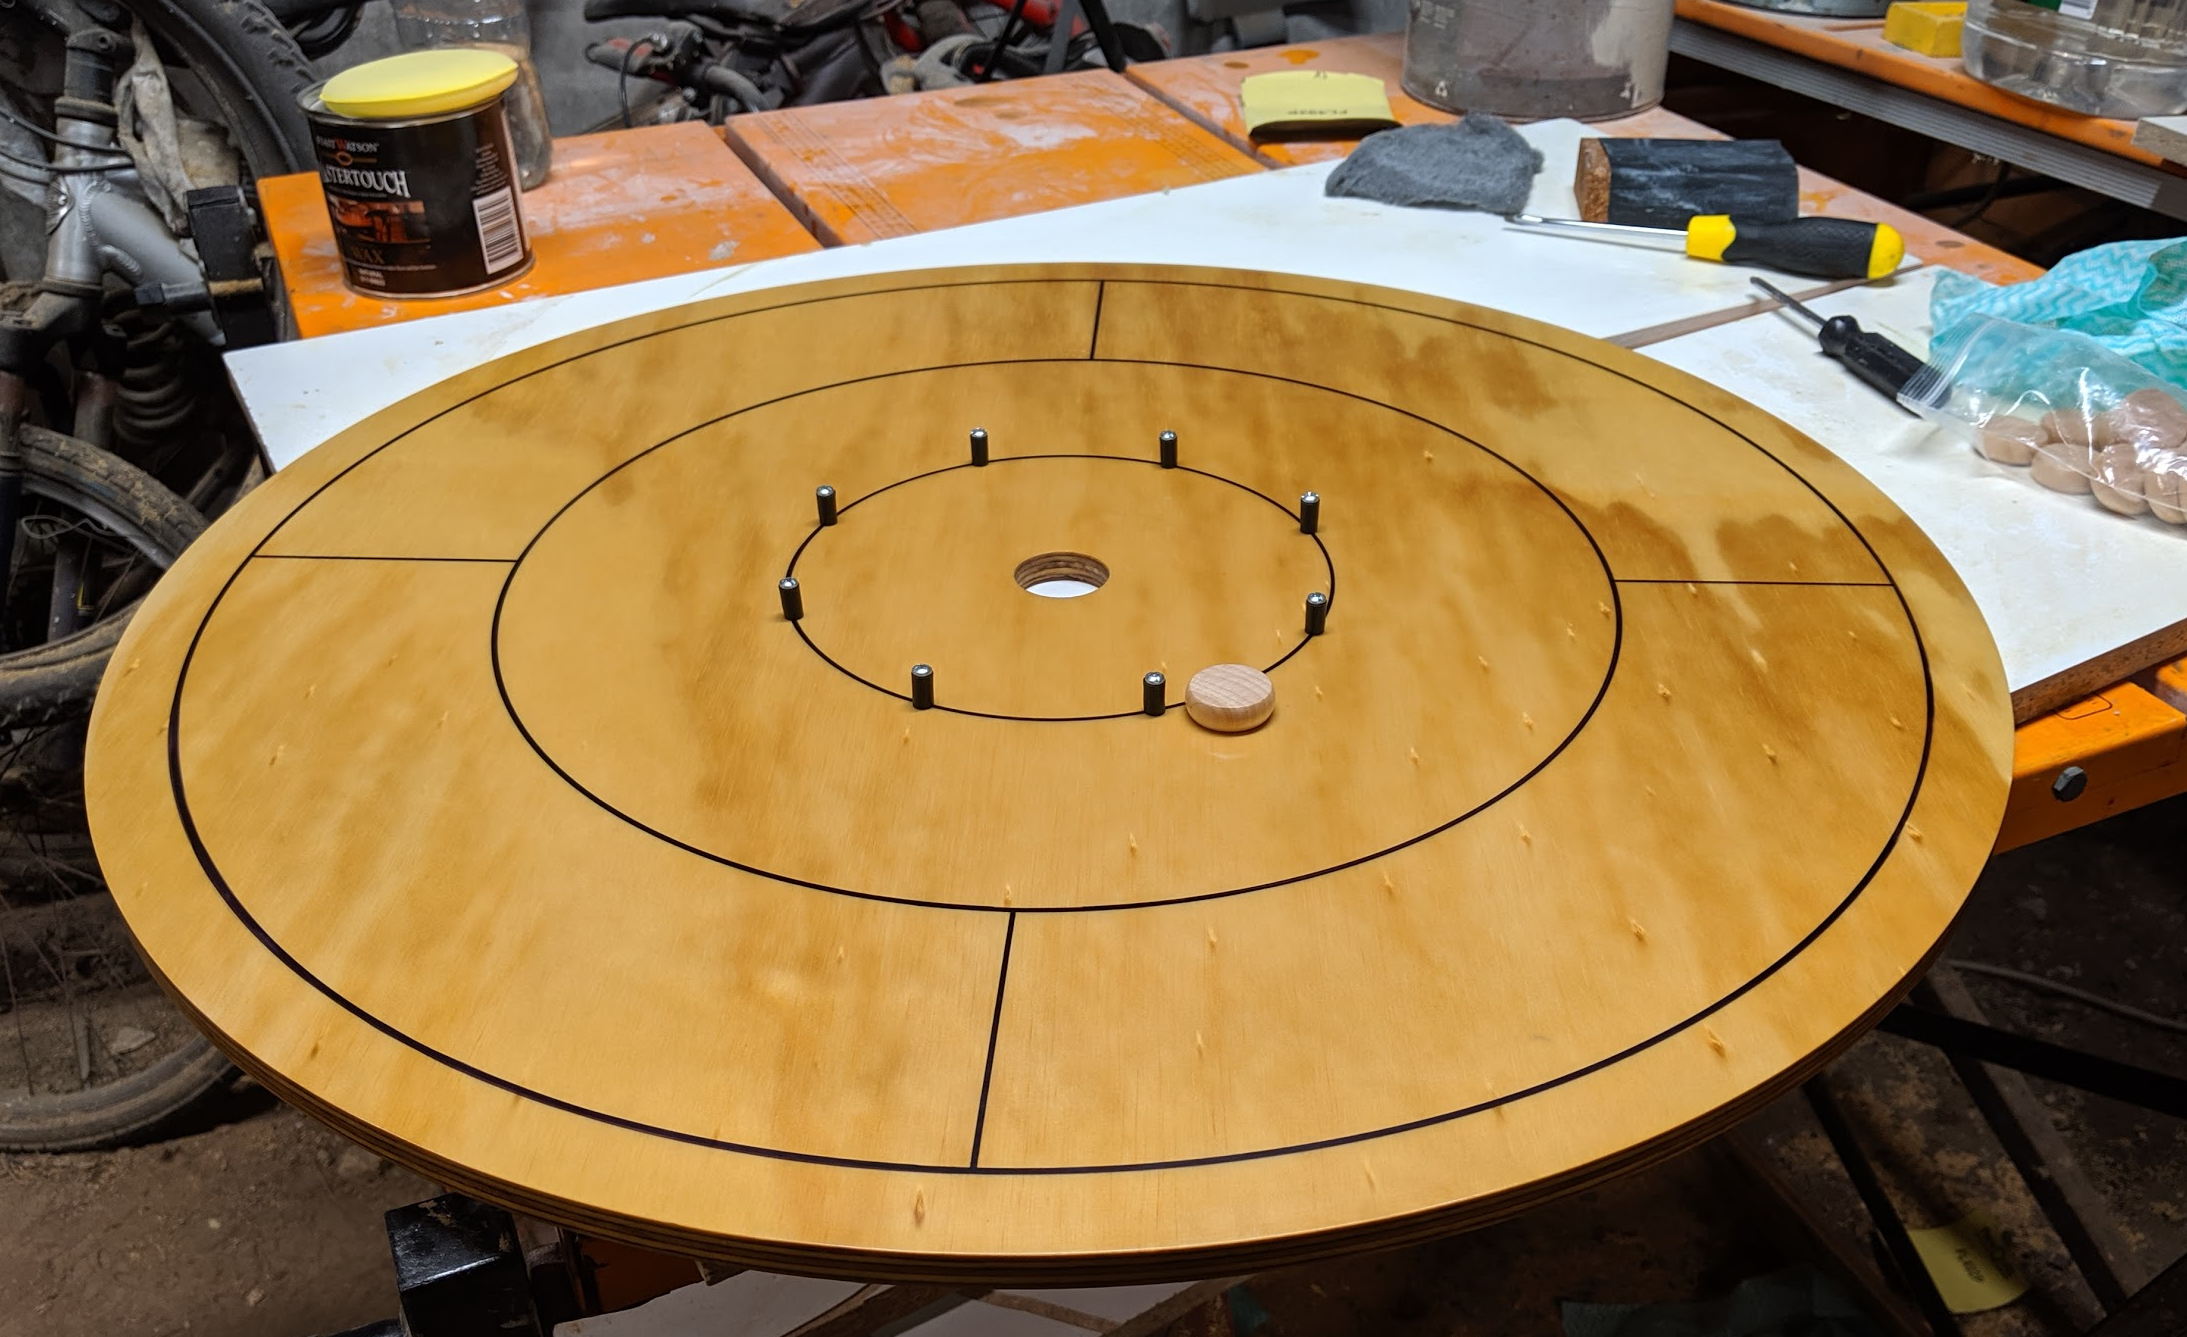
I applied a generous layer of pure carnauba furniture wax with a circular waxing sponge thing and left it for ten minutes, then buffed it off. The result wasn't quite as glossy as I wanted so I applied another coat and buffed it off almost immediately. The result was excellent. I screwed in the posts I'd made earlier and left it overnight.
Some guide suggested using steel wool to apply the wax coat. The 0000-grade steel wool I had would readily shed lots of fine steel dust which I feared would end up in the wax and rust over time. I stuck with the sponges.
First game
The next day Alex and I couldn't resist having a game even without the base.
We modified the rules to even up the game a bit. Alex could shoot without having to hit one of my disks. This was pretty much the perfect handicap for us. The penultimate score was 95 to 90 when he scored an enormous 60 points on the final round and won the game.
What I want to accomplish next time
- Varnish the base,
- Join the top to the base,
- Finish the bottom of the base.


