Table of Contents
What I would do differently
The base
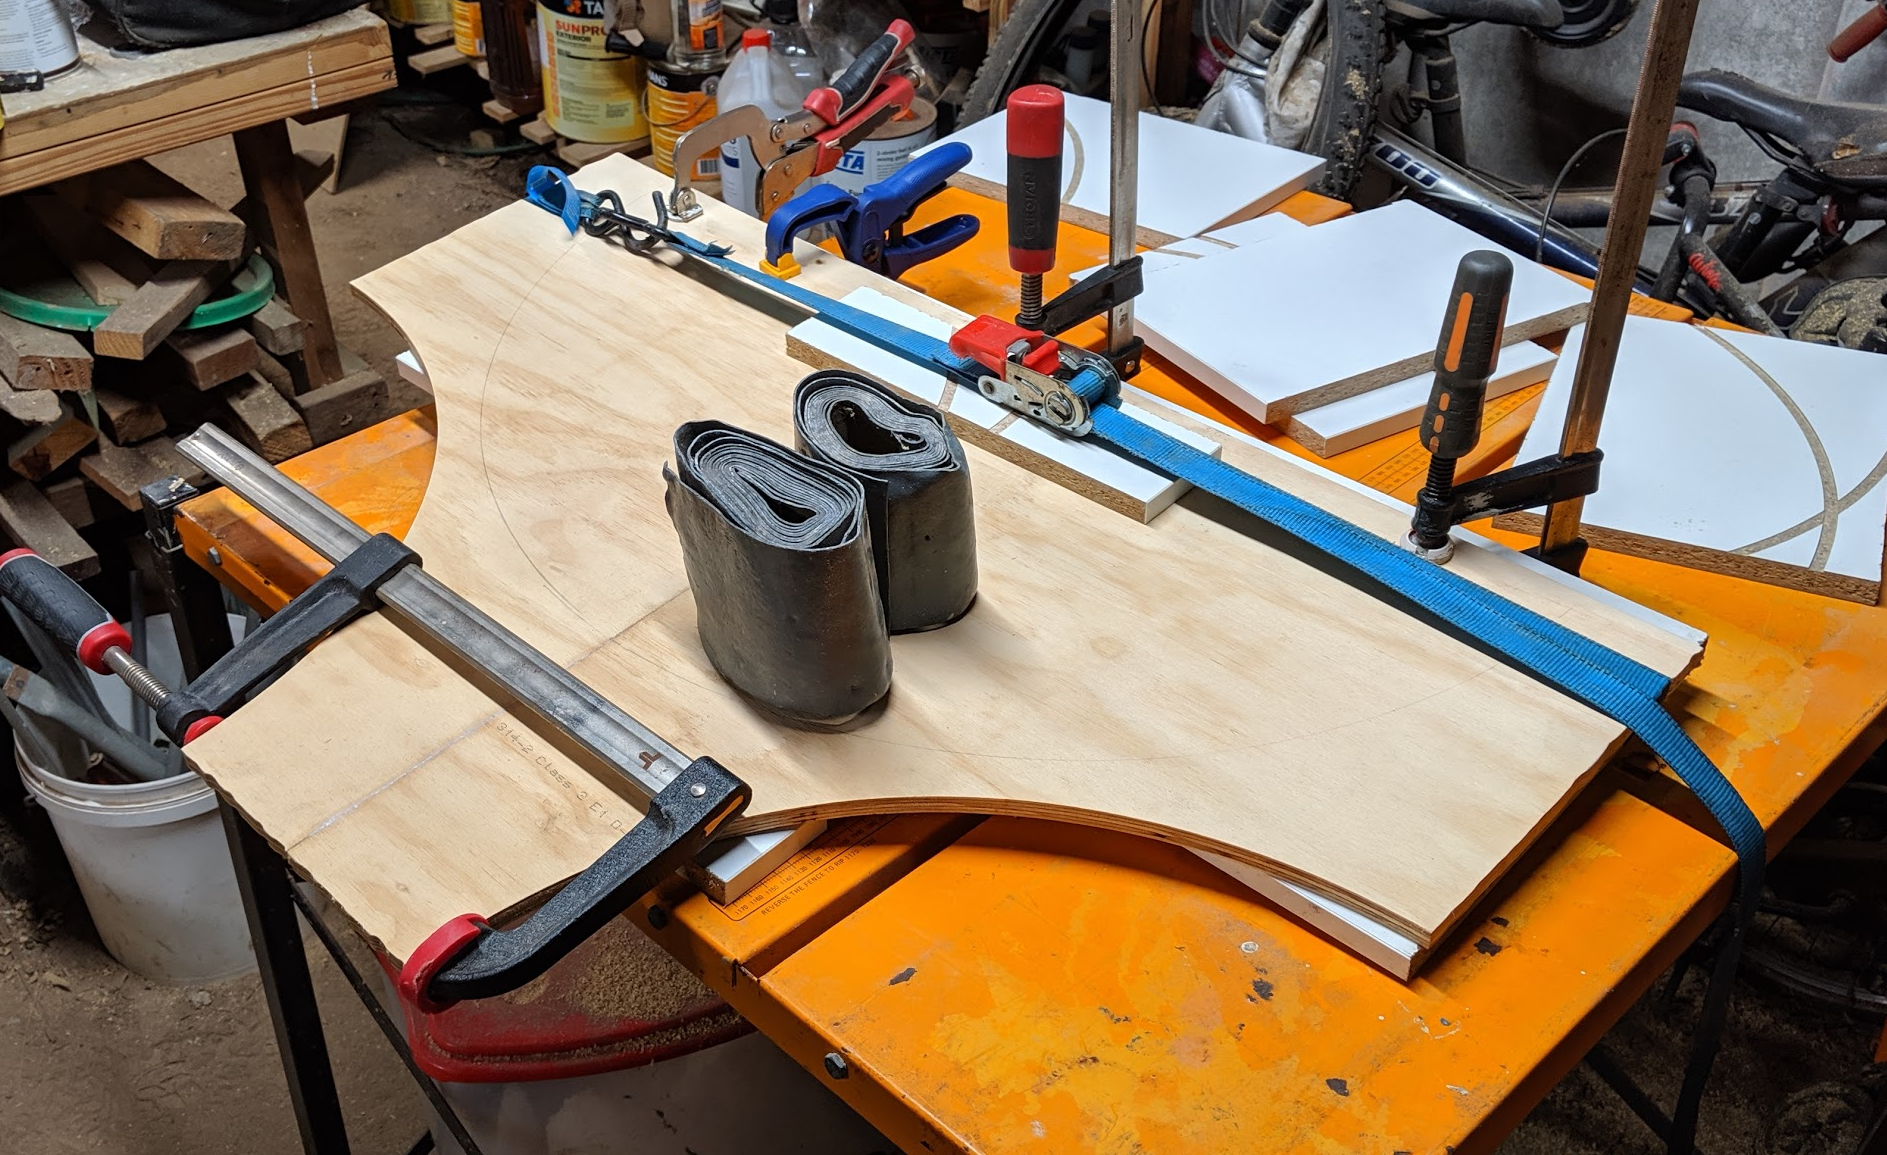
I had to spend a fair bit of time getting the surface of the base lined up properly after gluing. Lots of sanding and tweaking, and the end result was OK but not great. If I were to do this again, with the same size sheet of ply, I would cut the playing surface out, and cut up the remainder of the board into four corners. I'd then stack them up and rout the straight edges perfectly flat and smooth. I'd then glue them directly to the base of the playing surface, rather than gluing them edge-to-edge like I did. I'd then rout the circle into the base piece using the hole in the centre of the playing surface for alignment.
I'd also make the gutter 1/2“ narrower to bring the final circumference of the base down under 2.4m. This would give me one join in each edge strip rather than two. I could also possibly reduce the radius of the playing area surface by 1/2” and still have a spec-compliant board.
I would get the surface of the gutter to a good state, then cover it with masking tape before gluing on the edge strip. I had issues with glue squeeze-out preventing stain from soaking into the base where there were traces of glue left. This took a lot of fiddly inside corner sanding to resolve.
Playing surface
I'd follow this sequence:
- Sand wood down to smooth with orbital sander at 240 grit,
- Undiluted brush coat of varnish,
- Orbital sand 240 grit,
- Undiluted brush coat of varnish,
- Orbital sand 240 grit,
- Mark lines,
- Undiluted brush coat of varnish,
- Orbital sand 240 grit,
- Hand wet sand 600 grit,
- Hand wet sand 1200 grit,
- Wax.
No spraying, no endless, fruitless quests for the perfect final varnish coat. Get it good enough and then polish it with wet and dry sandpaper.

