Table of Contents
Solar Cells
The Plan
I want to build a 3v solar array out of 0.5v solar cells. This array should collect as much light as possible coming through the glass window. This means it should be a circular array, about 60-70mm in diameter. I will buy some monocrystalline solar cells and work out how to cut+join them to form the shape I need.
I'm hoping I can transfer my glass cutting learnings over to cutting solar cells. This guy makes it look easy.
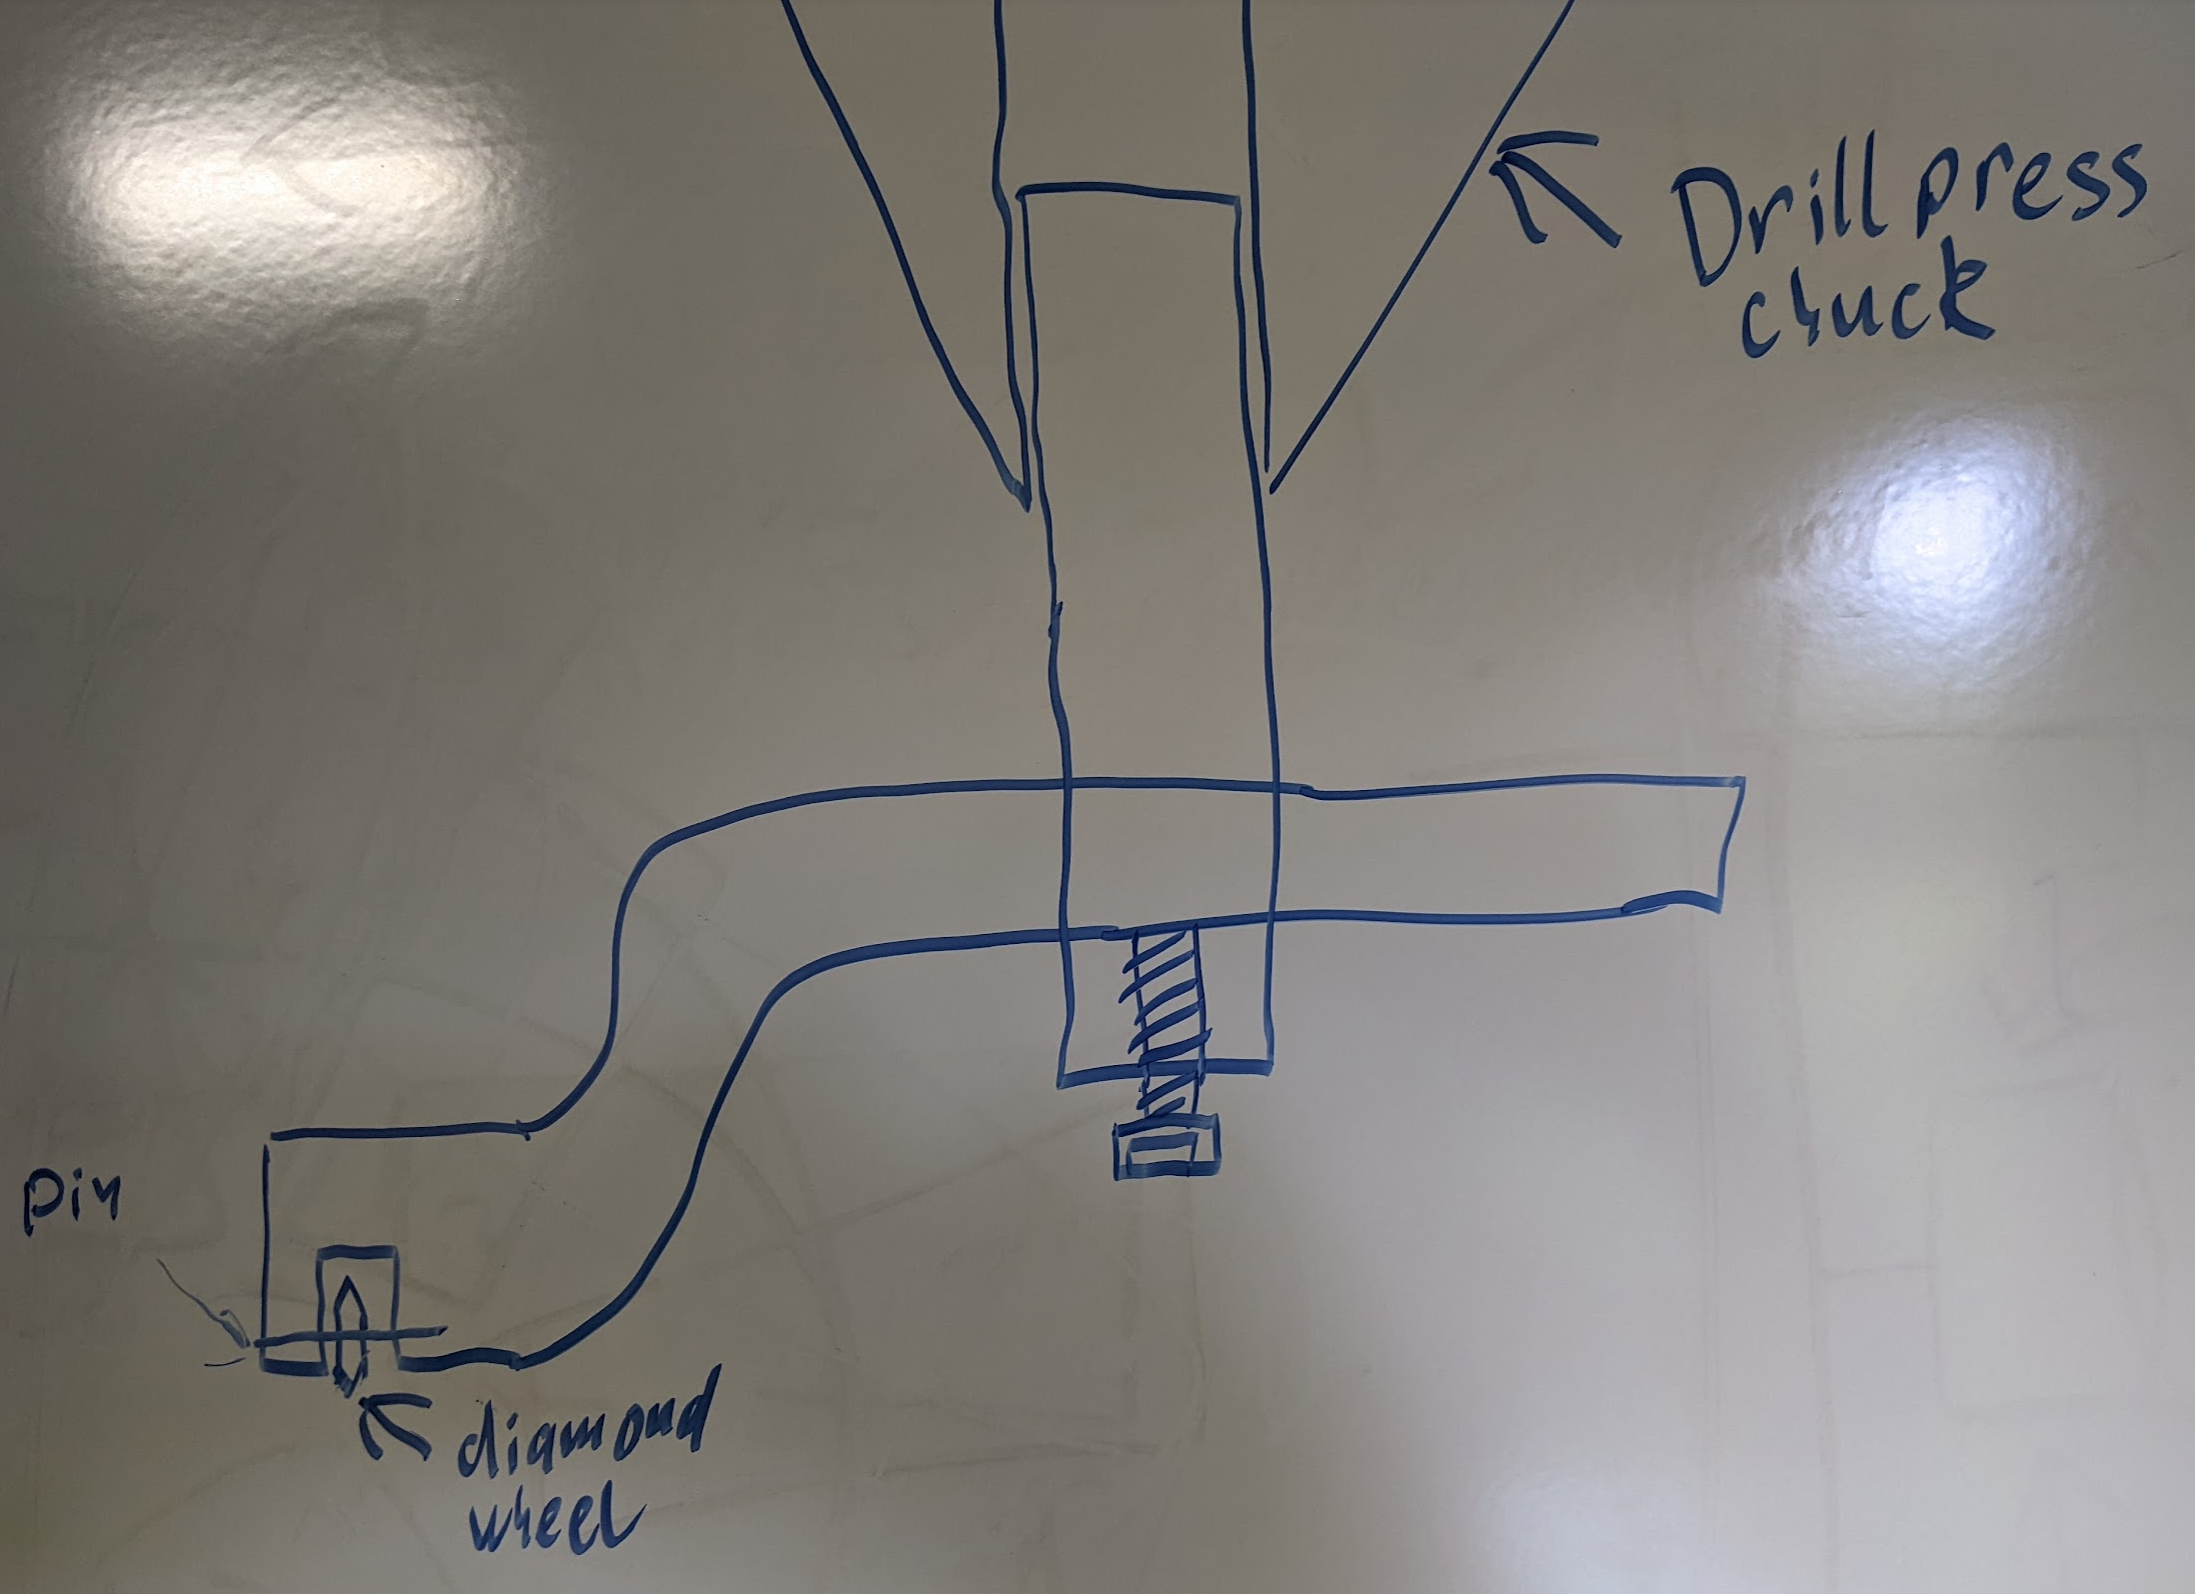
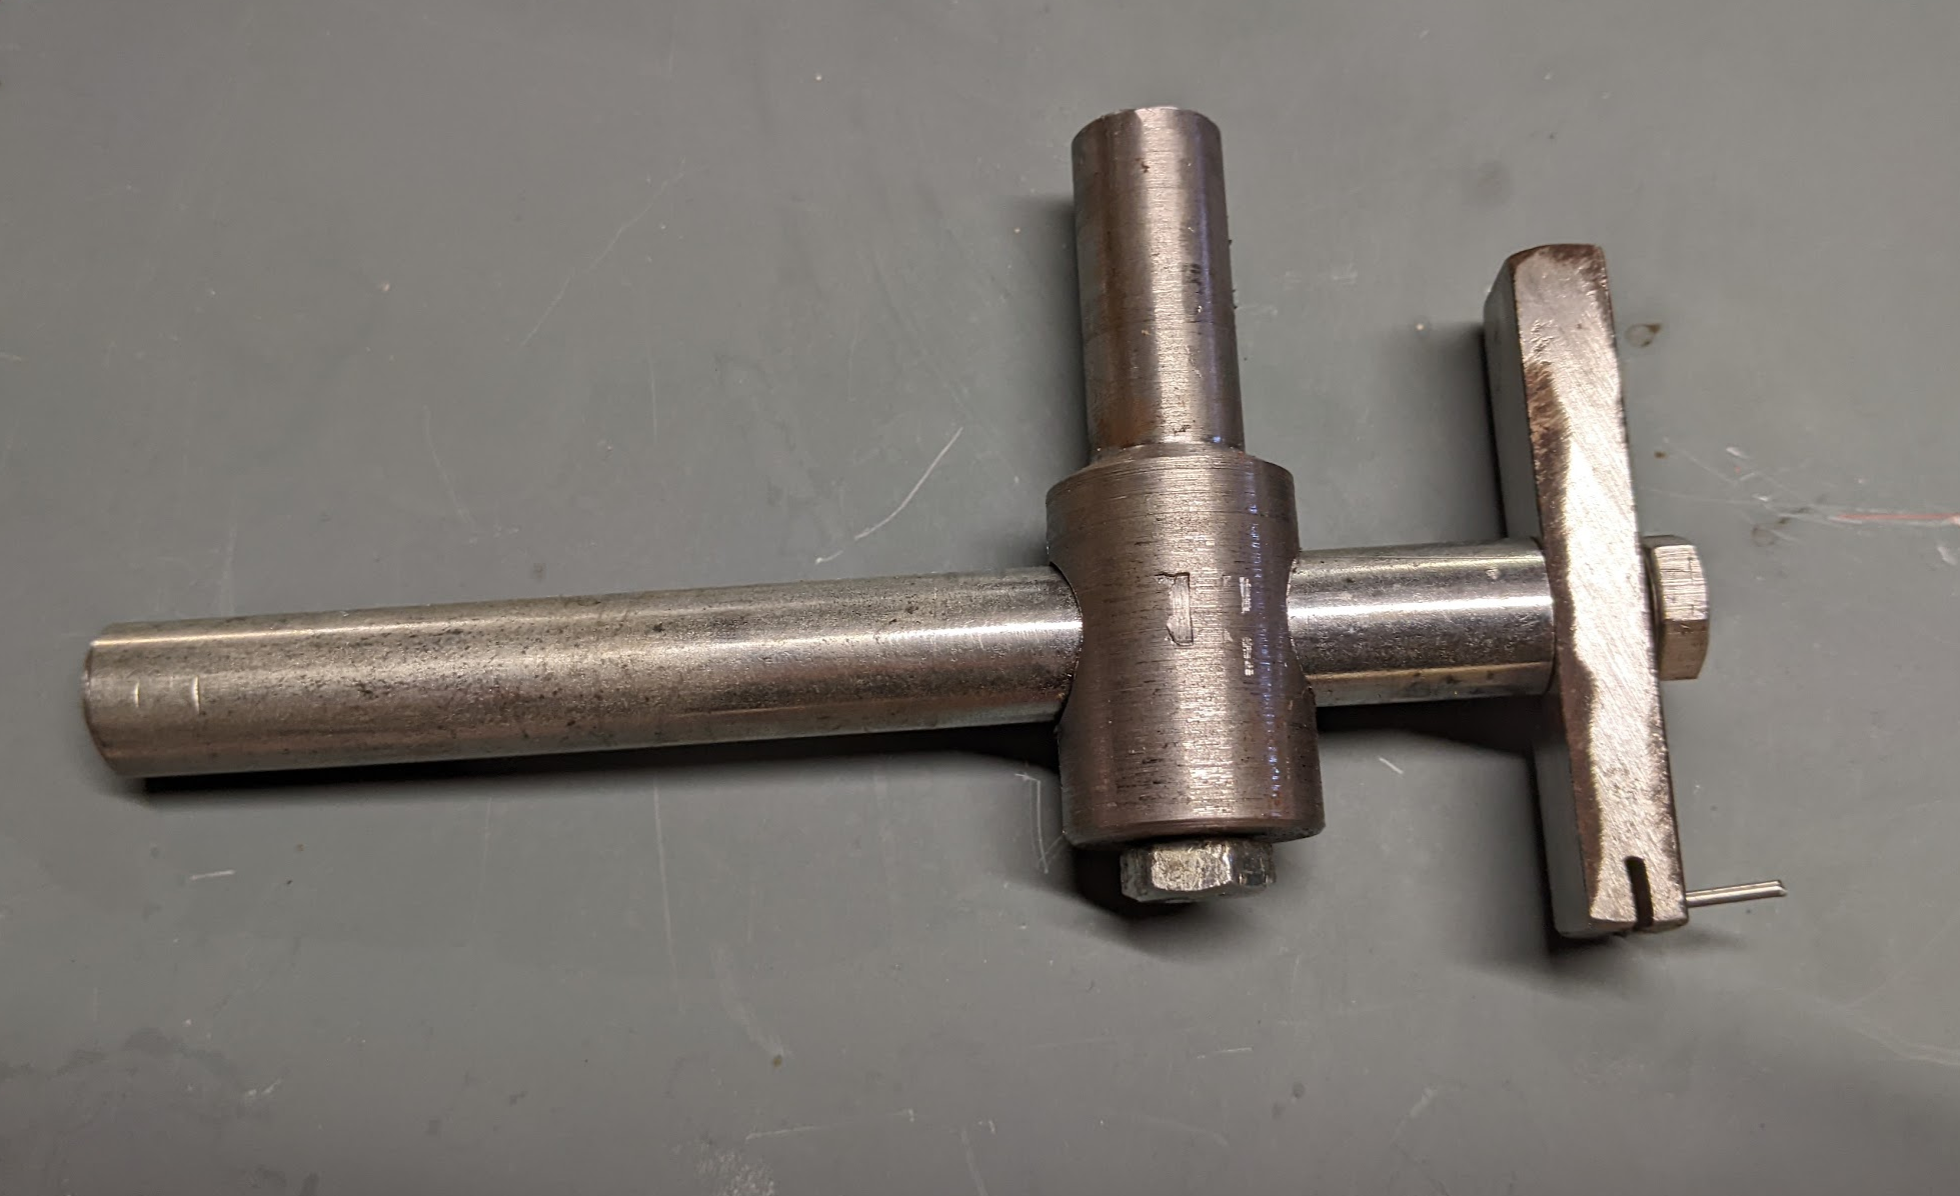
I will build a more robust glass circle cutting tool, that does not depend on a suction cup stuck to the glass.
The Results
Success
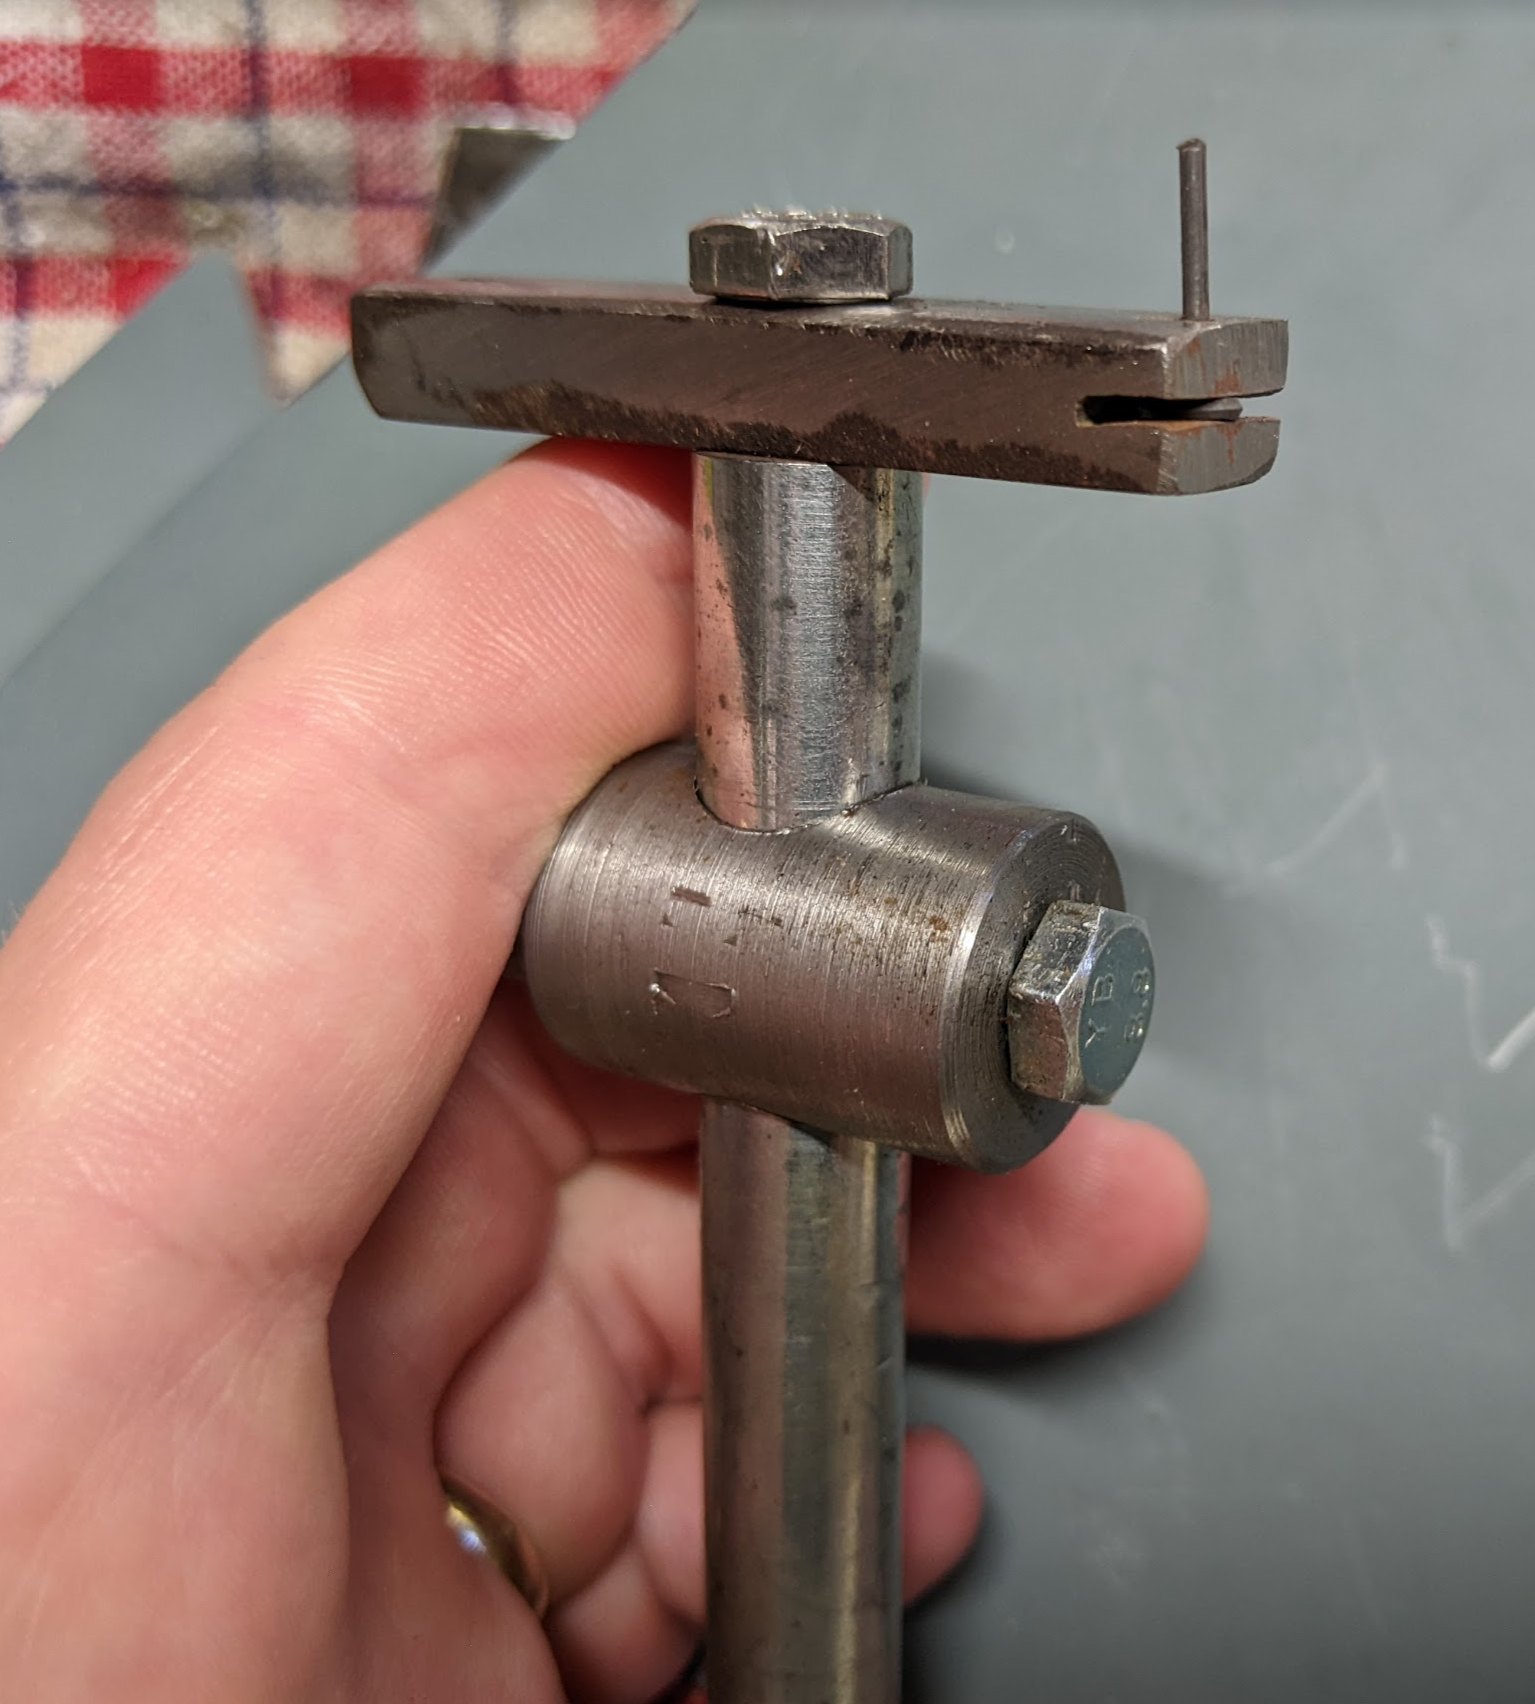
Making the new glass circle cutter was lots of fun, and went more or less to plan.
The hardest part was drilling the perpendicular 12mm hole through the shank piece to hold the horizontal arm. I ended up clamping it sideways in a 4-jaw chuck and indicating it as flat as possible. I then put a 3mm pilot hole through it then went in with the 12mm bit. I cut the slot in the diamond wheel mount with a hacksaw and cross-drilled a 1.2mm hole for the pin.
After I built the tool I trammed in my rubbish drill press as best I could and cut some test pieces of glass. It was harder to control the amount of force required to score the glass to the correct depth. I hooked an ockky strap around the depth crank to provide a constant force. Some tension tuning was required to get it set correctly but it works consistently now.
Failure
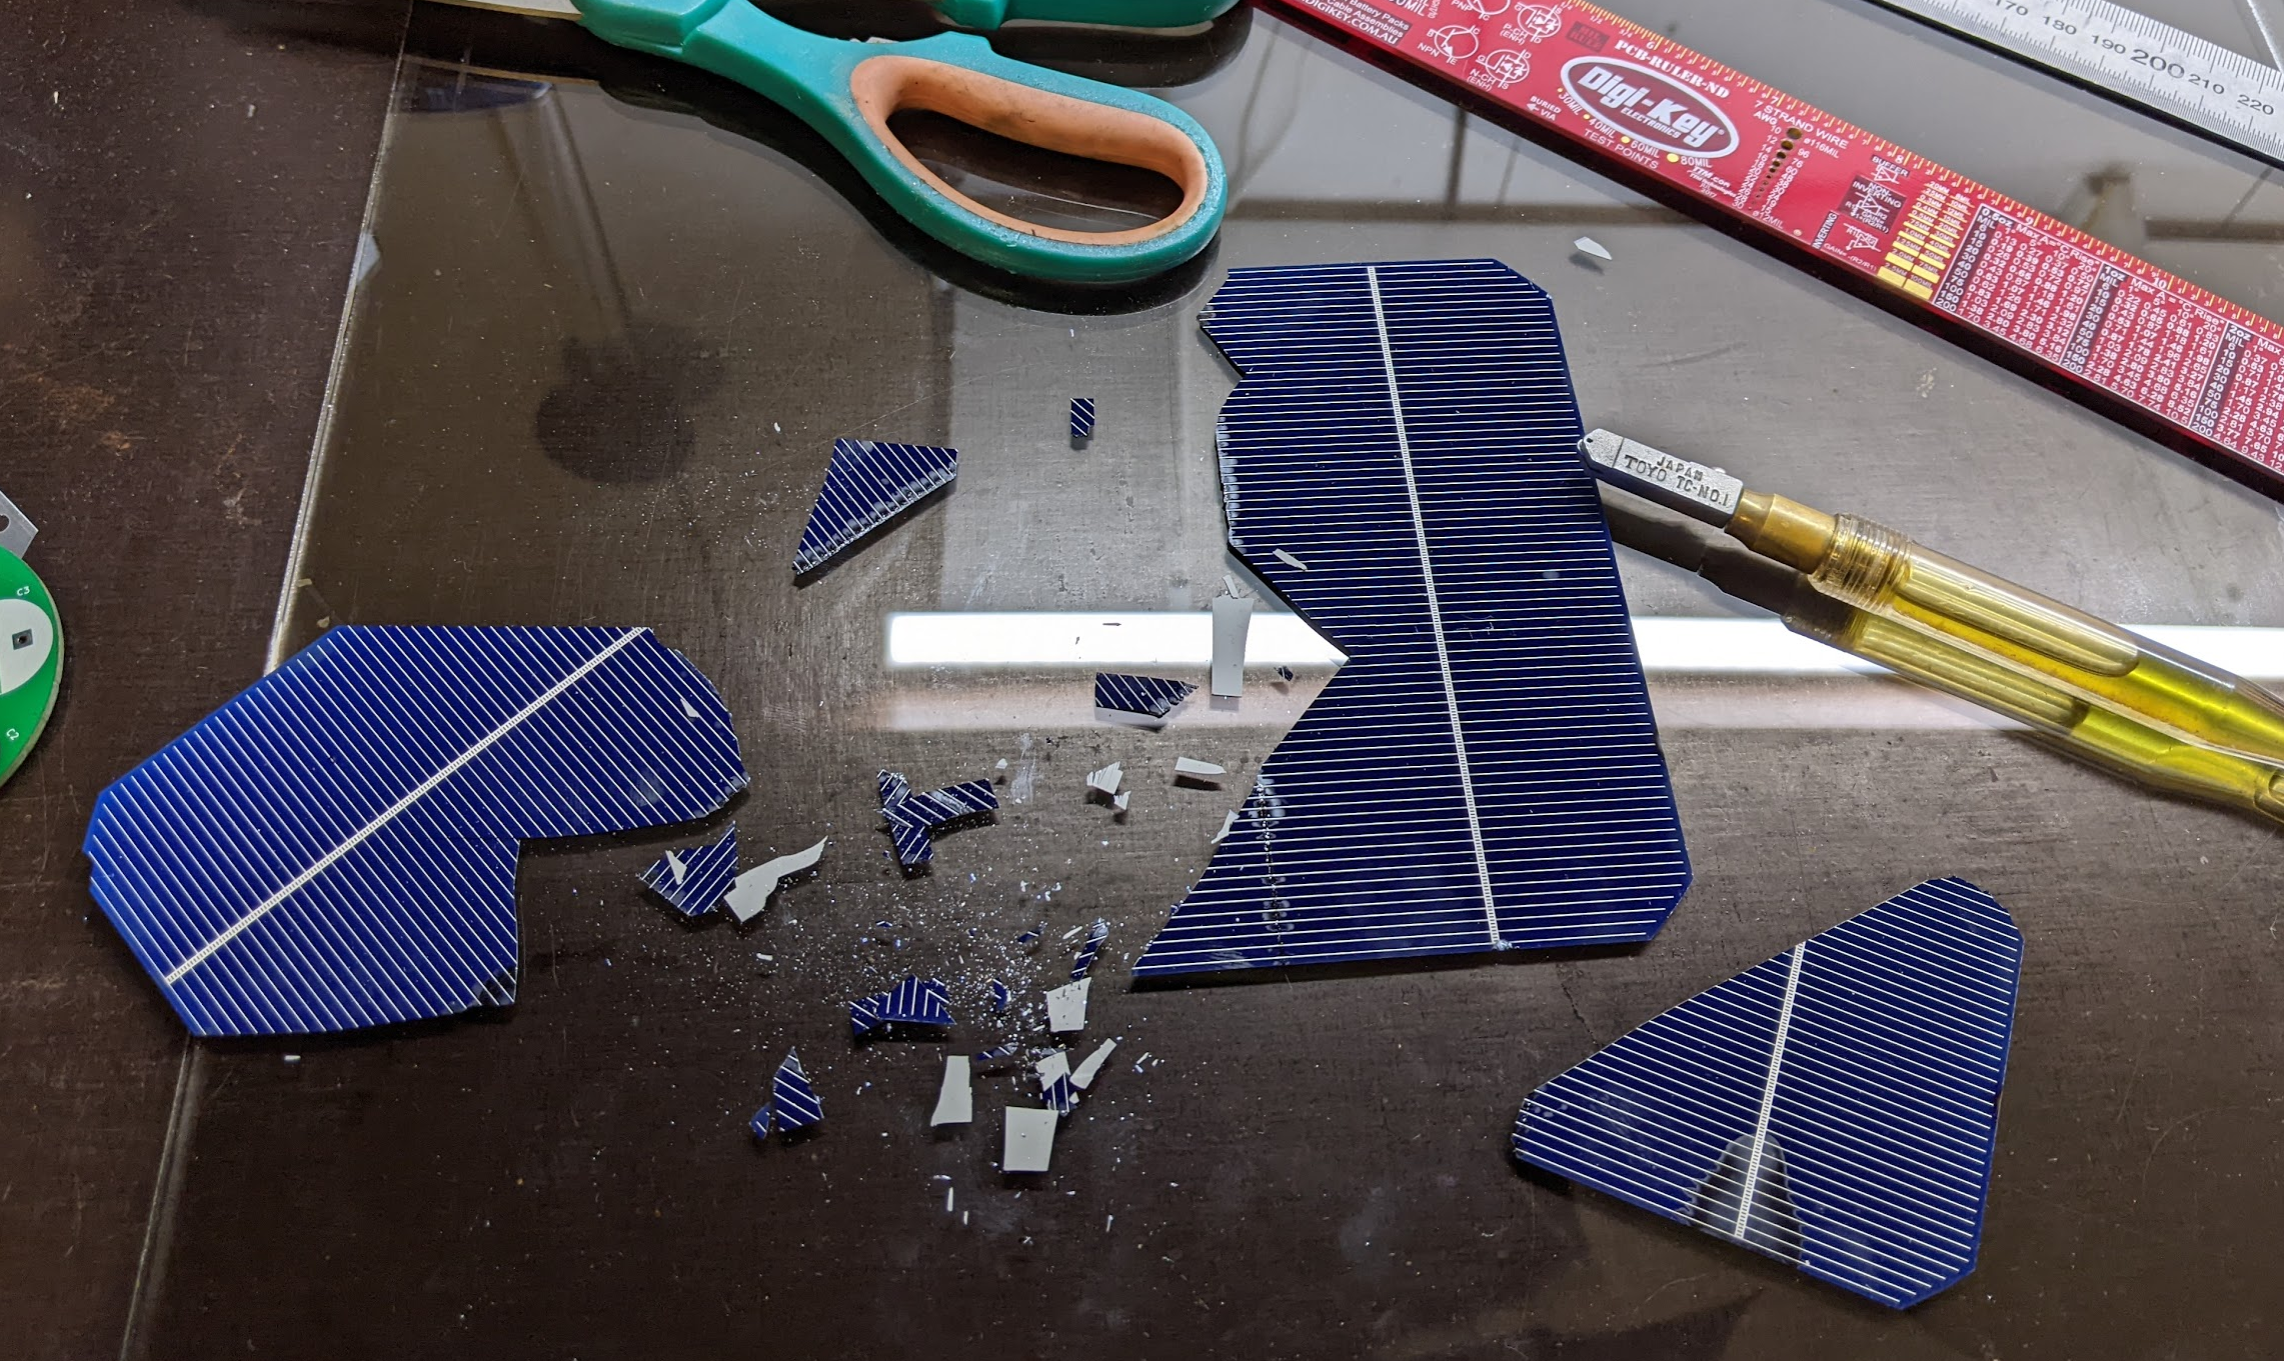
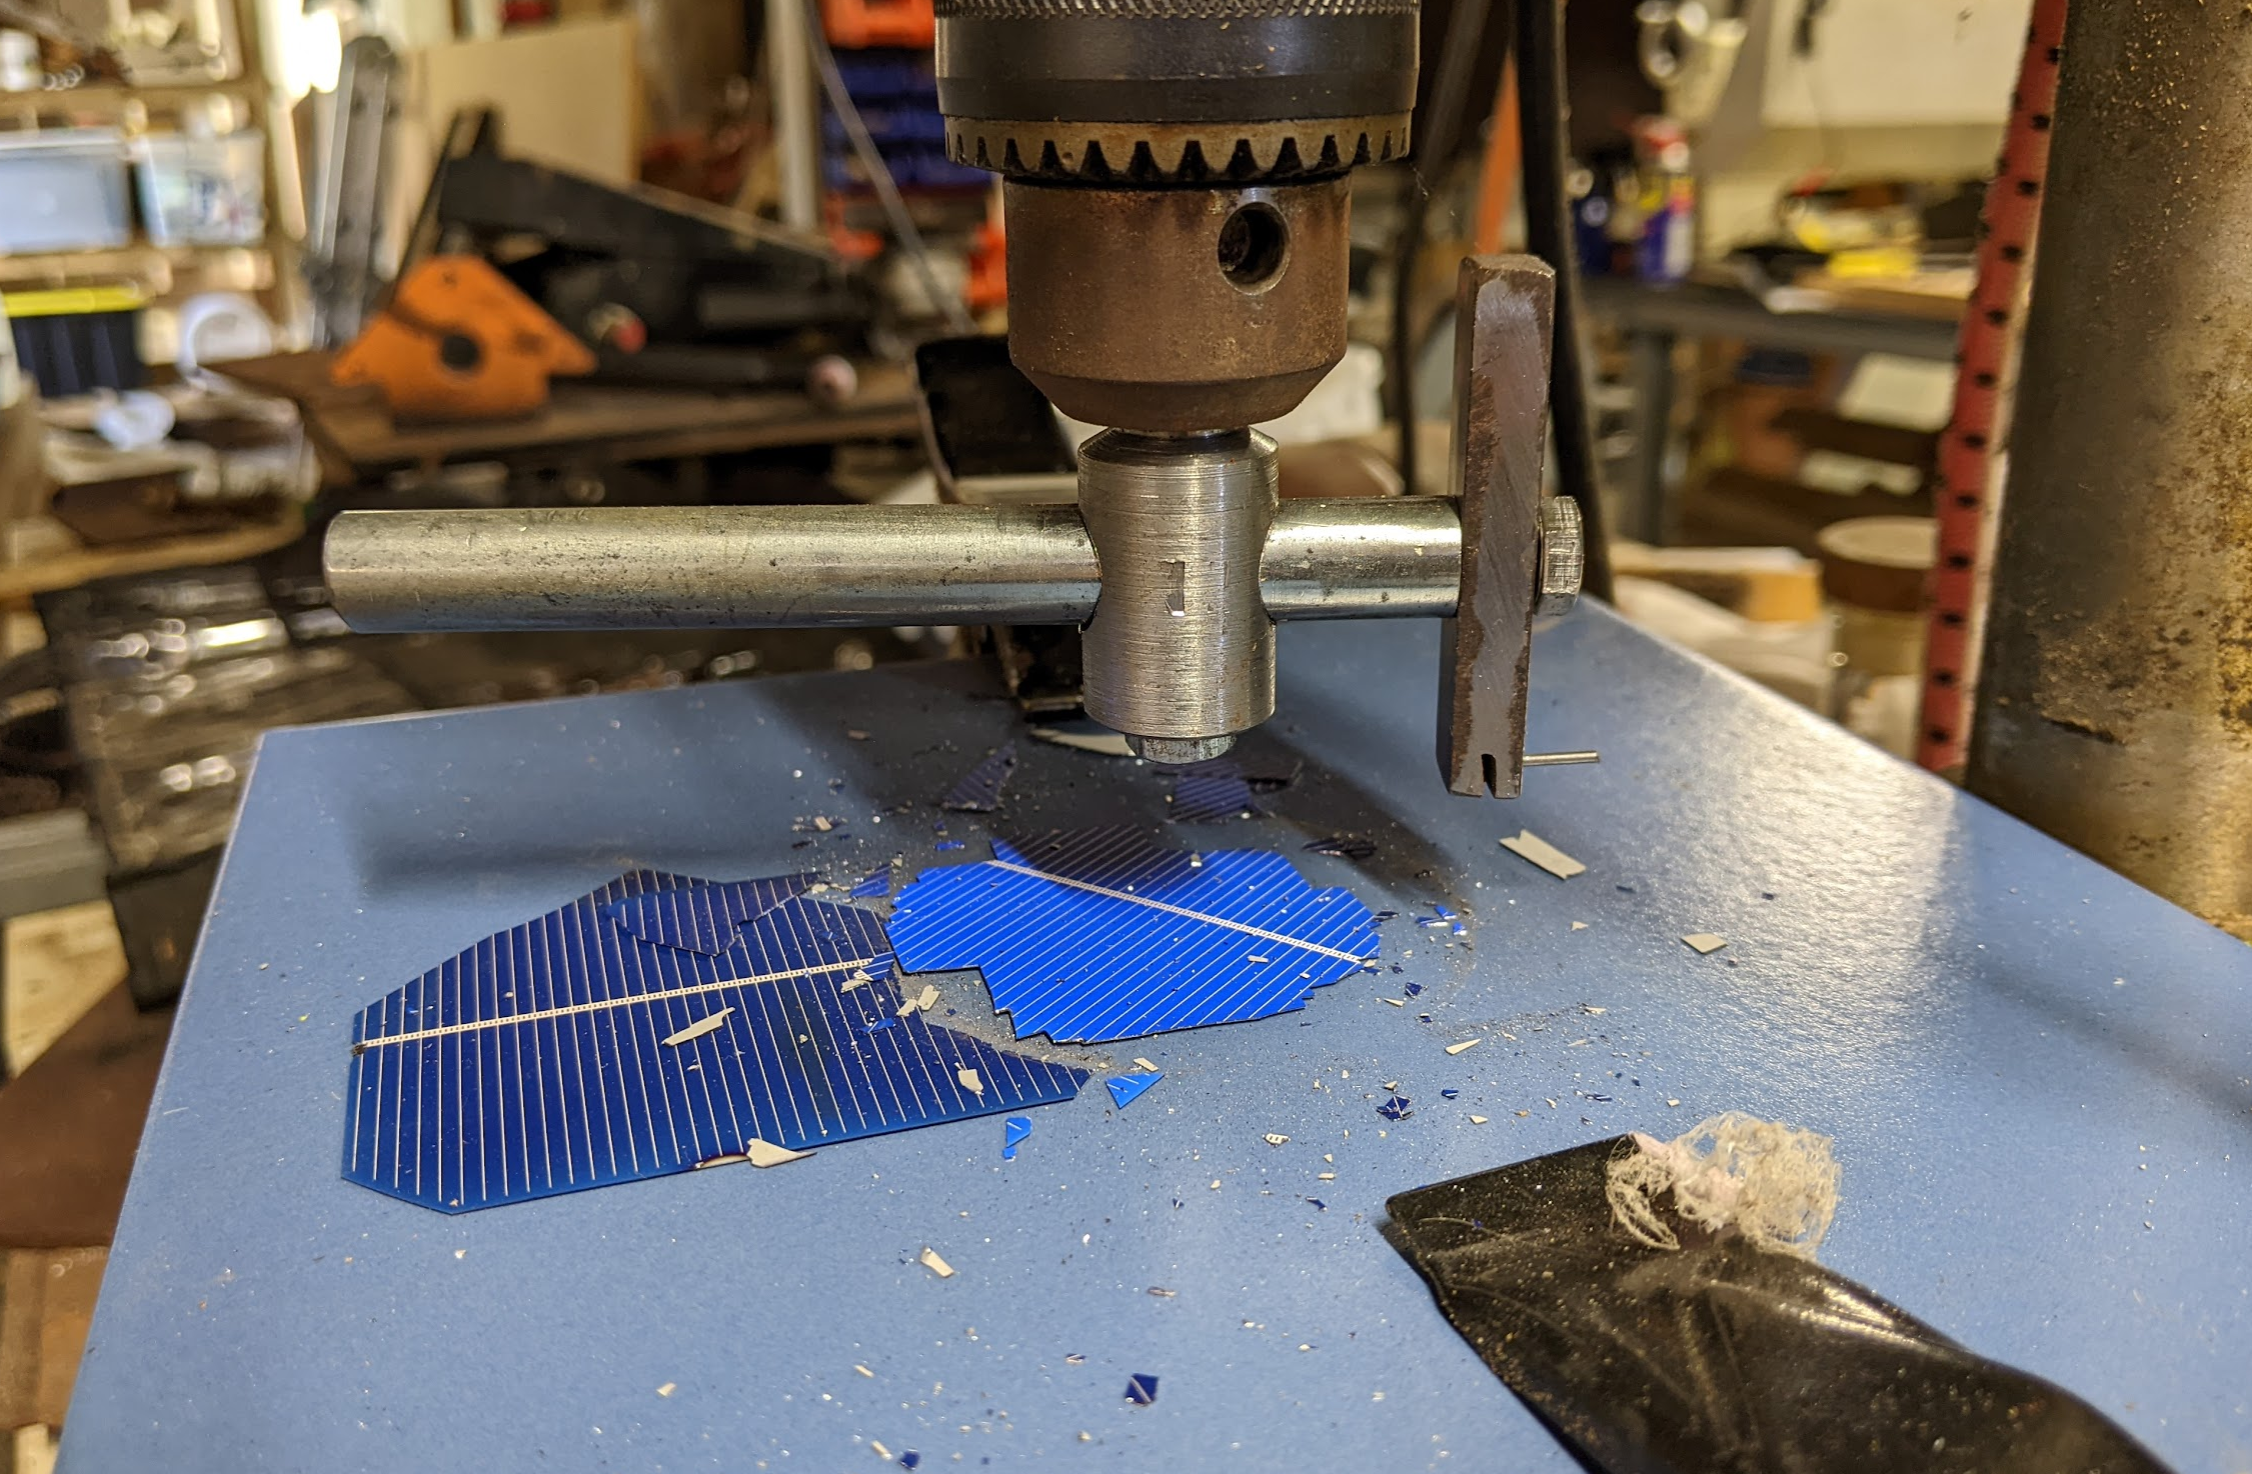
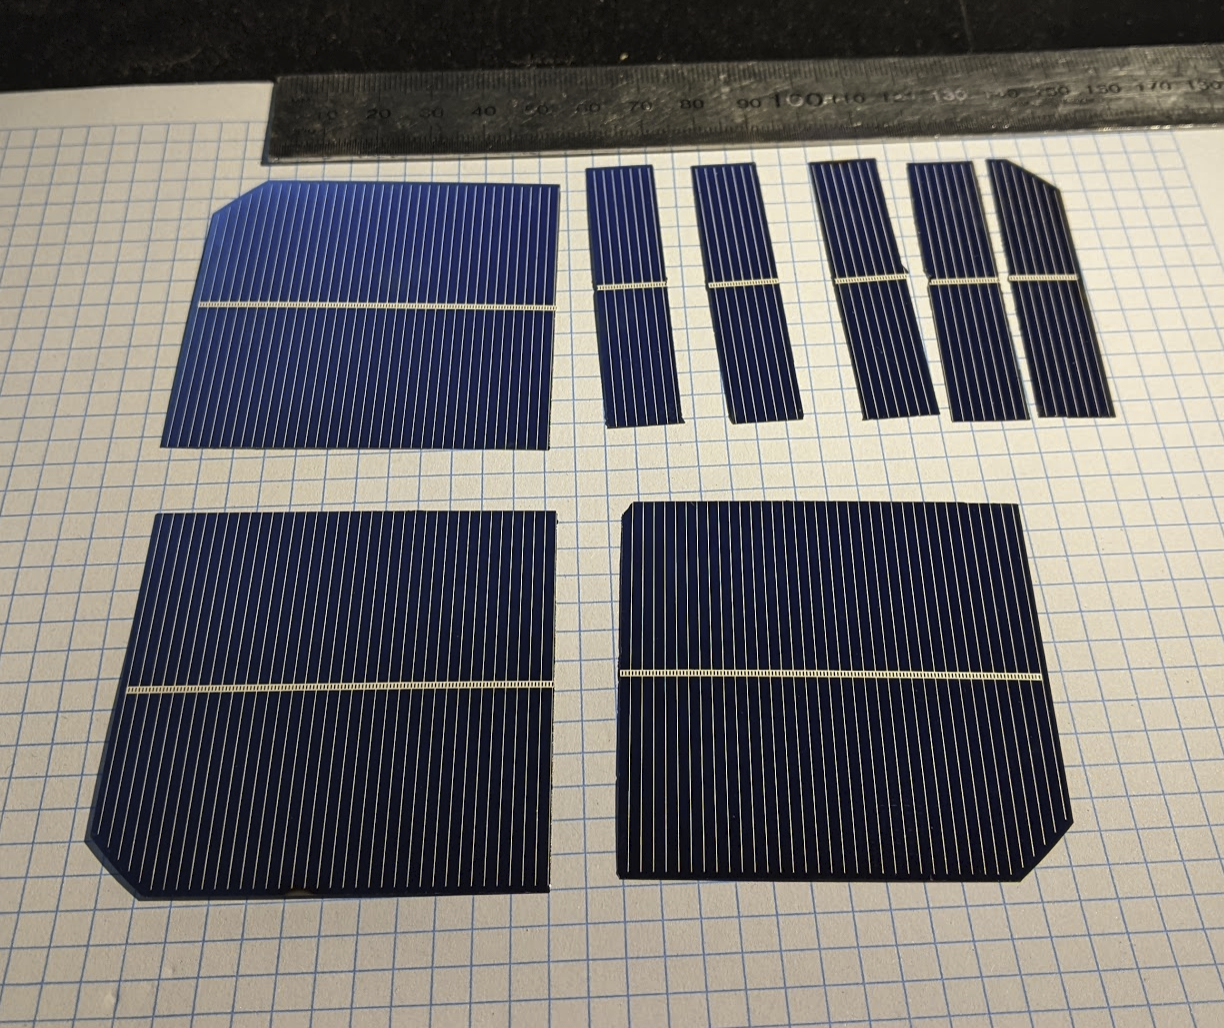
Scoring the solar cells doesn't really work the way I expected. There is a very small difference between the pressure required for scoring versus crushing. Even once successfully scored the cells do not tend to break along score lines. They instead crack along lines diagonal to the edges of the cells.
I also tried scoring the solar cells with my glass circle cutter. This was even worse, as it was much harder to control the amount of pressure. Most often the cell snapped in undesired directions starting from the score line.
After doing some research I concluded that the difference between my attempts and the videos I've watched is that they were cutting polycrystalline solar cells, whereas mine are monocrystalline. Mono-cells have large contiguous sections of crystal lattice that has a strong large-scale fracture direction preference. Poly-cells have smaller crystals arranged in a chaotic mish-mash, so cracks that start forming from the score line don't propagate as far.
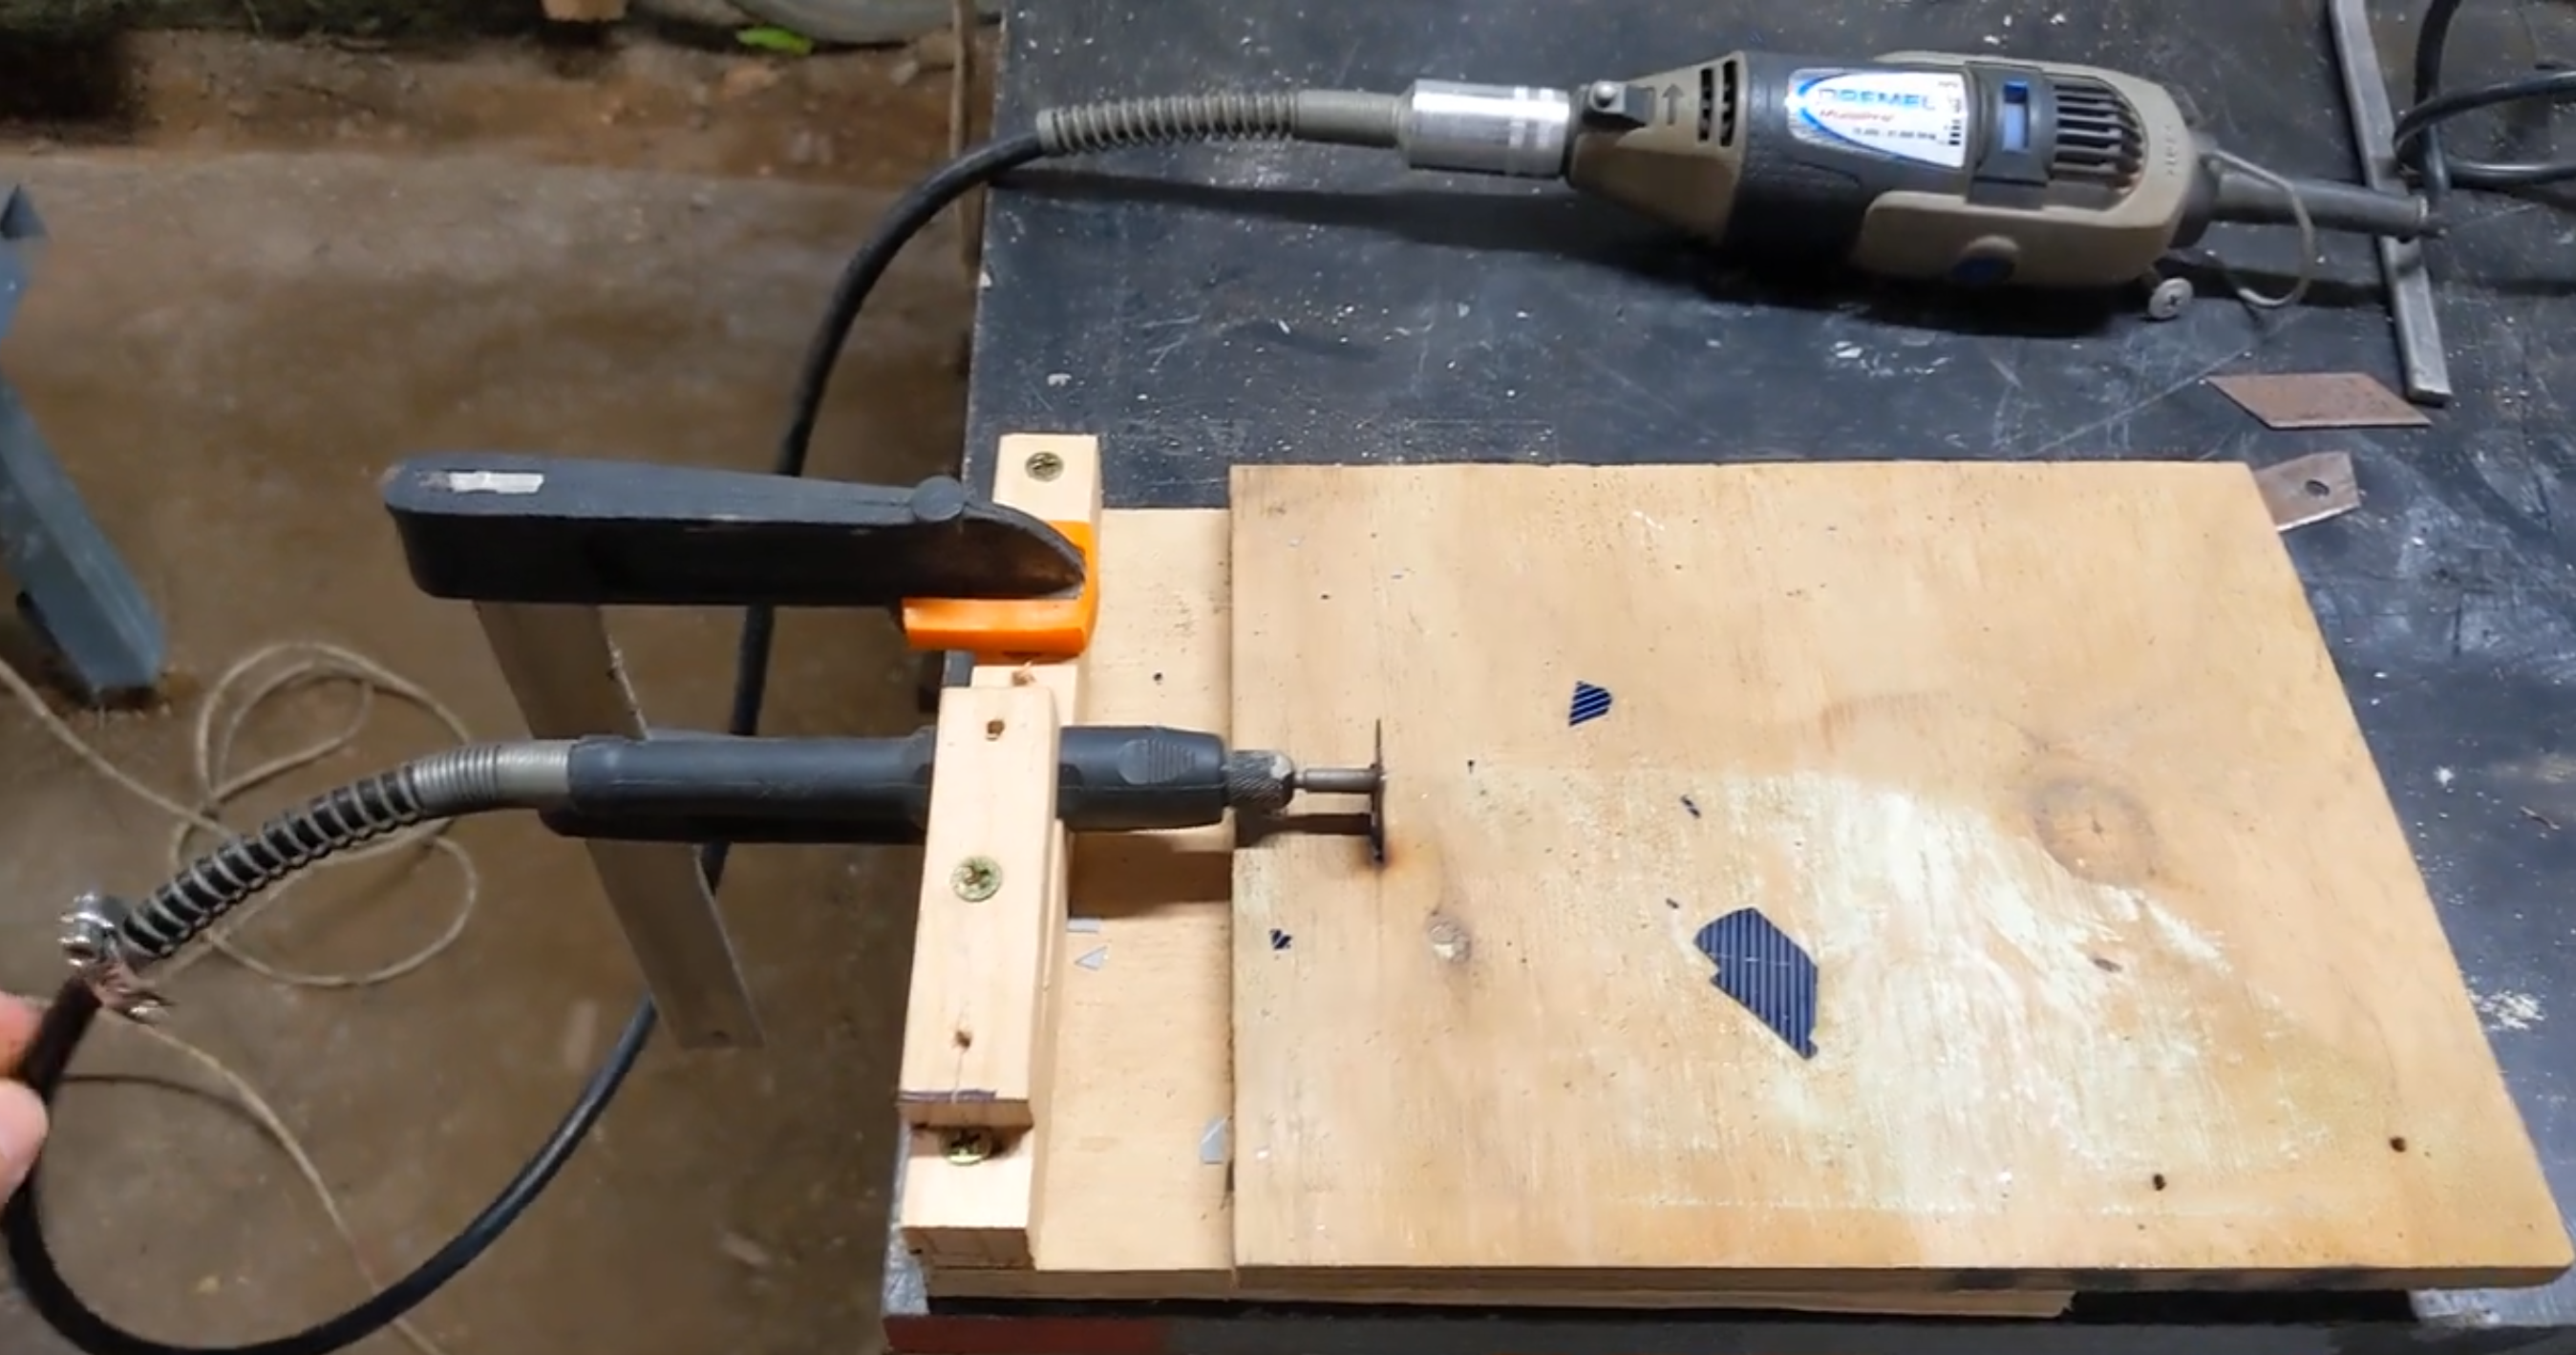
I built a small table saw with a dremel and an abrasive cut-off blade. I tested it on a few little scrap fragments of cell and found that the cell more or less shattered on contact with the blade, rather than being nibbled away. I've seen videos of people using diamond blades on dremels to cut solar cells, but I suspect those are also cutting poly-cells. I would've thought the small chunks of diamond would act as discrete hammer blows, rather than the continuous abrasion of a cut-off blade.
All of this testing was done on a single 125×125 solar cell. I have another nine of them to experiment with. I would like to see how these cells respond to a CO2 laser. I work with people who built solar racing cars, and so have experience with this kind of thing. We also have a water jet cutter at work, which might be worth a try.
Unearned success
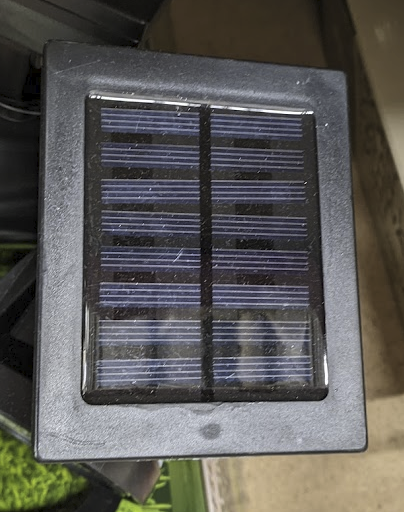
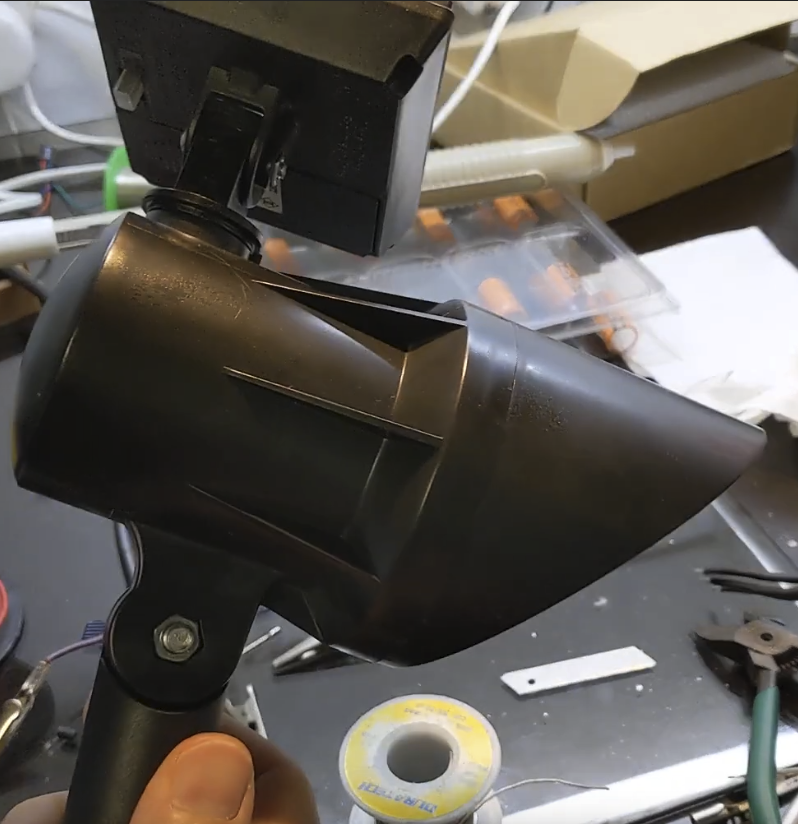
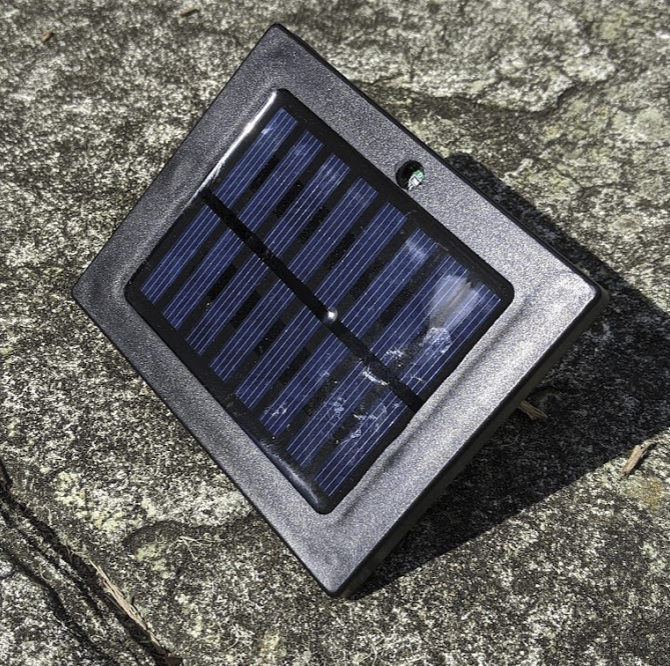
I was at Bunnings (a hardware store) for an unrelated reason and I saw some solar-powered garden lights with various configurations of solar cells. They were mostly under AUD$10 so I grabbed an 8-solar-cell LED light on a stake.
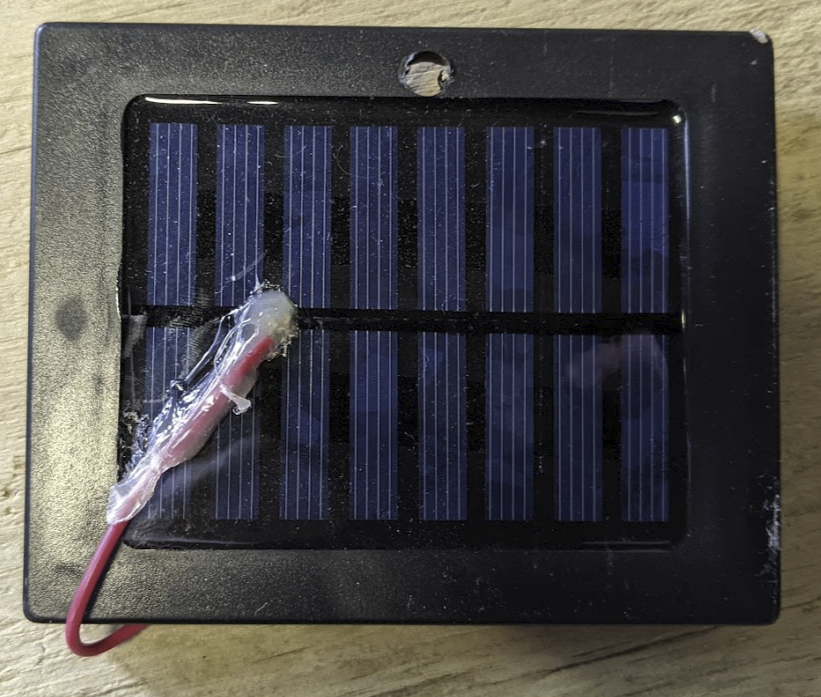
I drilled a small hole in the bezel to make the LED visible from the front.
I connected the 8 cell panel to a blinker circuit and it generates enough power to overwhelm the voltage limiting zener and the supercap overvolted to 3.1V. I did some experimentation with covering up cells with tape, but quickly realised that dark cells don't pass current.
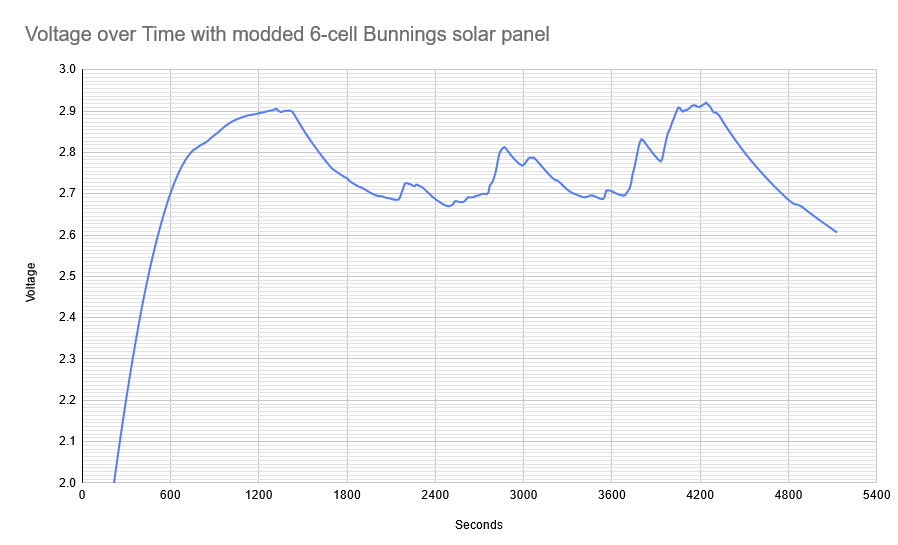
I dug through the polymer coating with a hot air gun and knife to expose a connector and soldered on a wire that bypassed two of the cells. This gave me the following results under direct sun when connected to the blinker:
I was pretty happy with that, however it did sneak pretty close to the voltage limit of the supercap. I decided I would go with a 5-cell array for the final version.
Success again
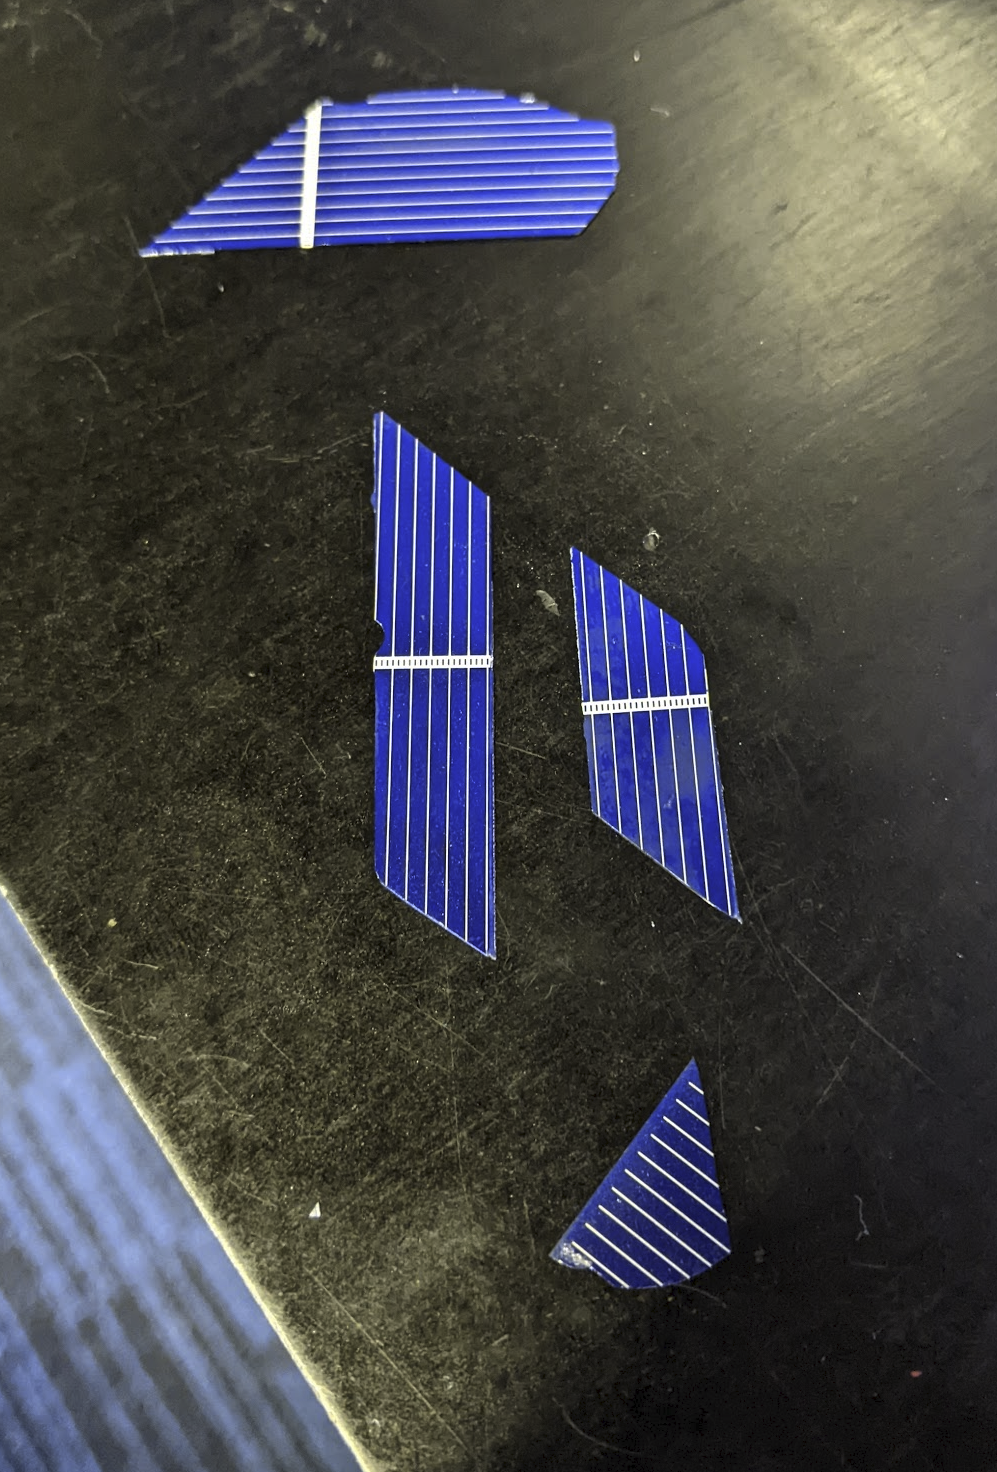
Once I got my laser cutter set up, things started to improve again. I collected all of the bigger bits of the failed previous attempts and shot lasers at them at varying intensities, movement speeds and number of passes. I settled on 2 passes at 70% power on my 80W CO2 laser tube moving at 50mm/s, lasering the backside of the cells. This caused the seam to bend upwards slightly providing a guide for the crack.
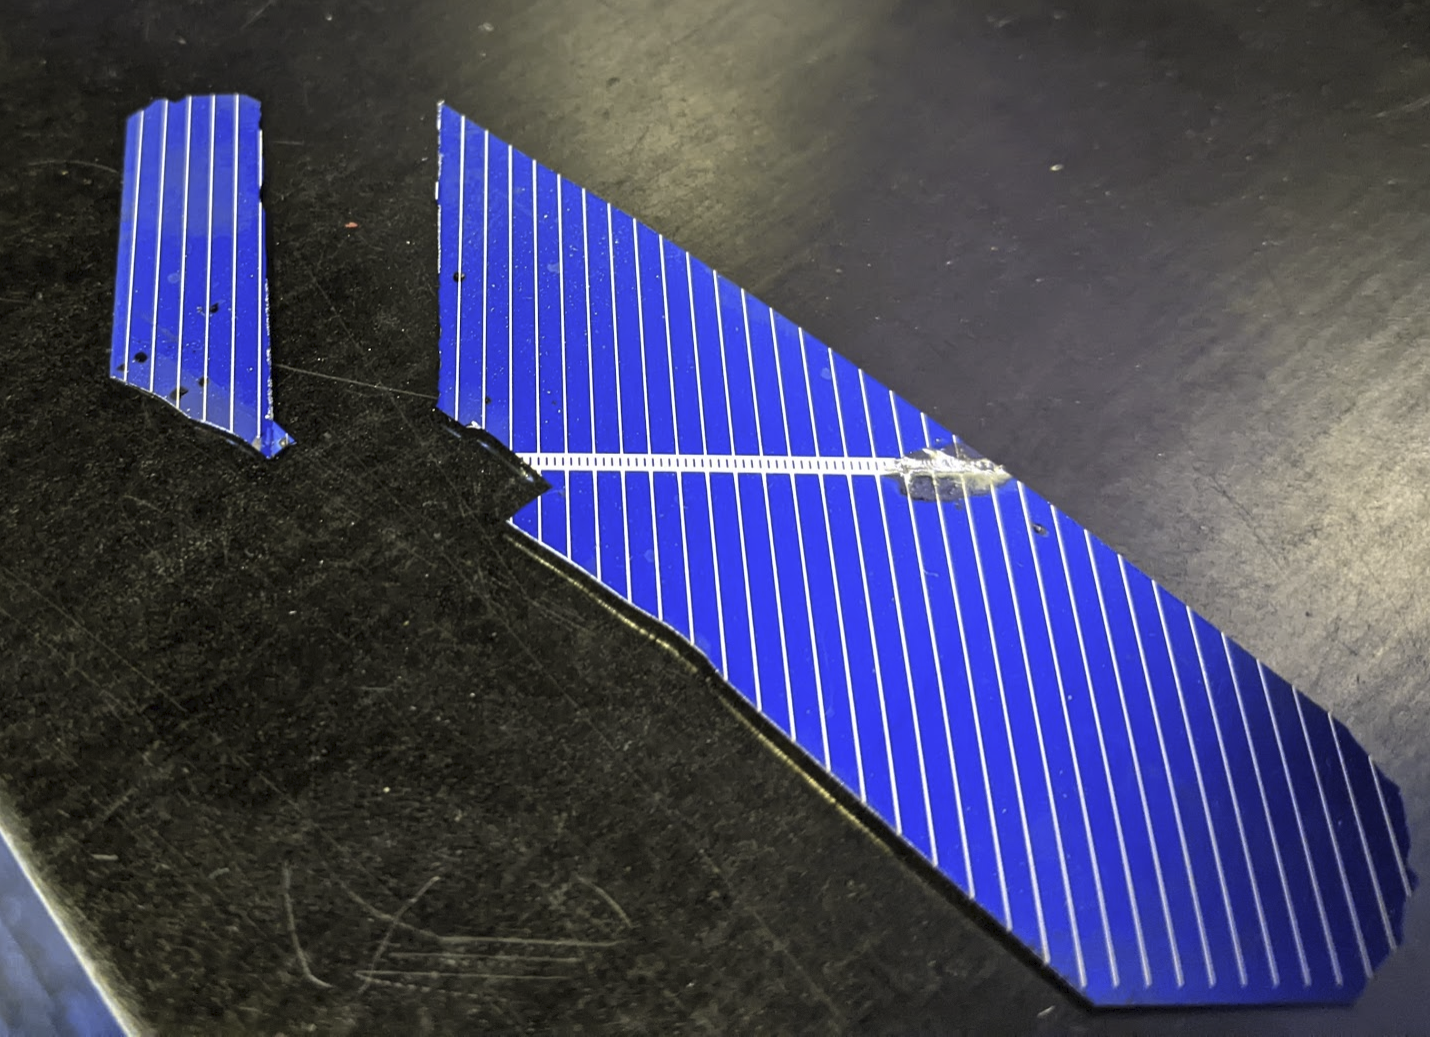 First attempt. Note the cut is approximately parallel to the fine white lines.
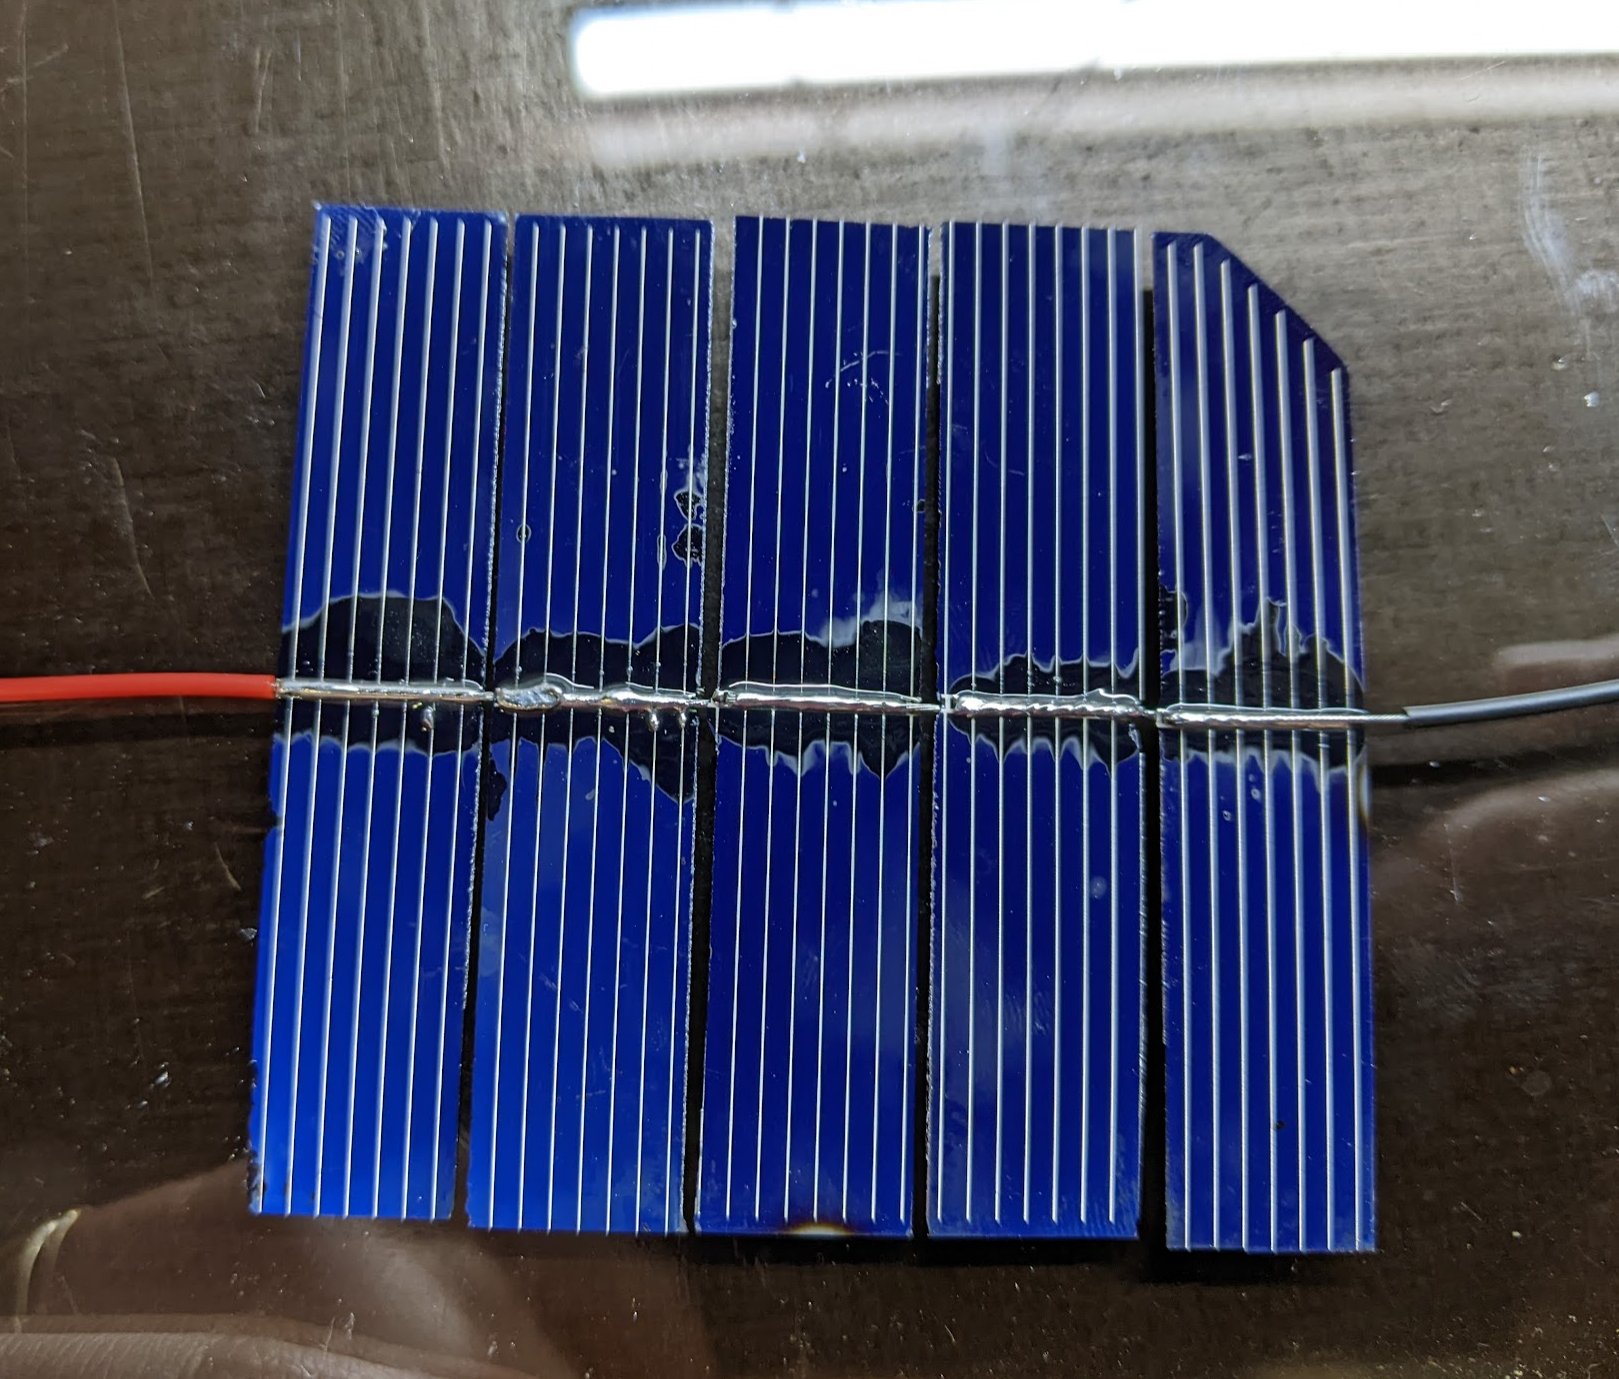 Soldered up one five-cell array.
I used some fine copper wire to join the cells. I used leaded solder, a chisel tip, Chipquik SMD291 flux and 270ºC. I dipped the wire in the flux and laid it across the contact on the panel, wet the iron tip with a good amount of solder then swept across the copper while I held it in place. Once I got my technique sorted it was pretty straightforward.
Holding this cell in diffuse sunlight gave 2.7V open circuit voltage.

