Table of Contents
Getting the hang of this thing
In addition to fixing¹ the leak in the left pontoon there were some other things I wanted to sort out before going sailing again. The leading edge (luff) of the jib was loose. Loose sails make you sail bad so I added a couple of ties to the top and bottom to hold it taut along the stainless wire. The mast has a float at the top to prevent the boat flipping completely upside down when you capsize. It got bonked on the ground when we dropped the mast earlier, so I pulled it apart and re-joined it with copious quantities of glue and silicone. I was now more confident in it keeping water out while we scurry about trying to work out how to un-capsize a boat.
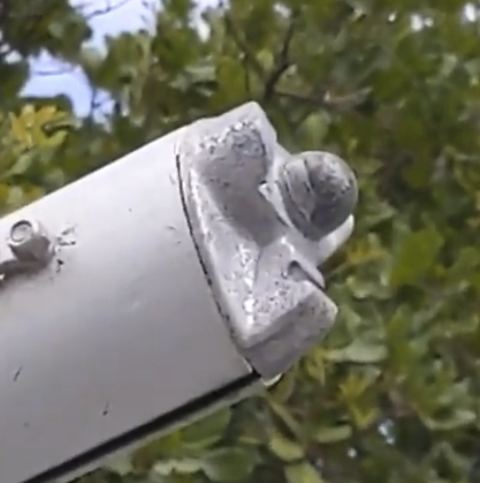
The jib kept getting stuck on a saddle on the front of the mast during tacks, so I drilled that off and riveted the holes shut. It's a bit of a mystery as to why it was there, but it's gone now. There were a few other little problems to sort out, but the only remaining big thing required me to travel backwards in time to fix it before going on our first sail. I won't bore you with the details of the time travel but I will bore you with details on fixing the trampoline during a rainstorm.
The tramp is the square fabric floor of the boat, strung between four aluminium extrusions just aft of the mast. On the back and sides it's held on with a rope sewn into the edge of the tramp and threaded into a slot in the extrusion. This edge rope had pulled out of the slot in one spot, so there was a gap between the tramp and the extrusion. Not a huge deal, but it could get worse with time. Fixing it required drilling out the rivets holding on one of the lengthways aluminium side bits to release tension on the tramp. This let me drag the tramp edge out of a flared portion of the slot, and then pull it back in properly. This job sucked, but I was happy to have it done. I did have to cut one of the hiking straps to release tension enough to move the tramp, but I patched it up with a length of seatbelt material.
2024-01-03 Brisbane River
Preparations
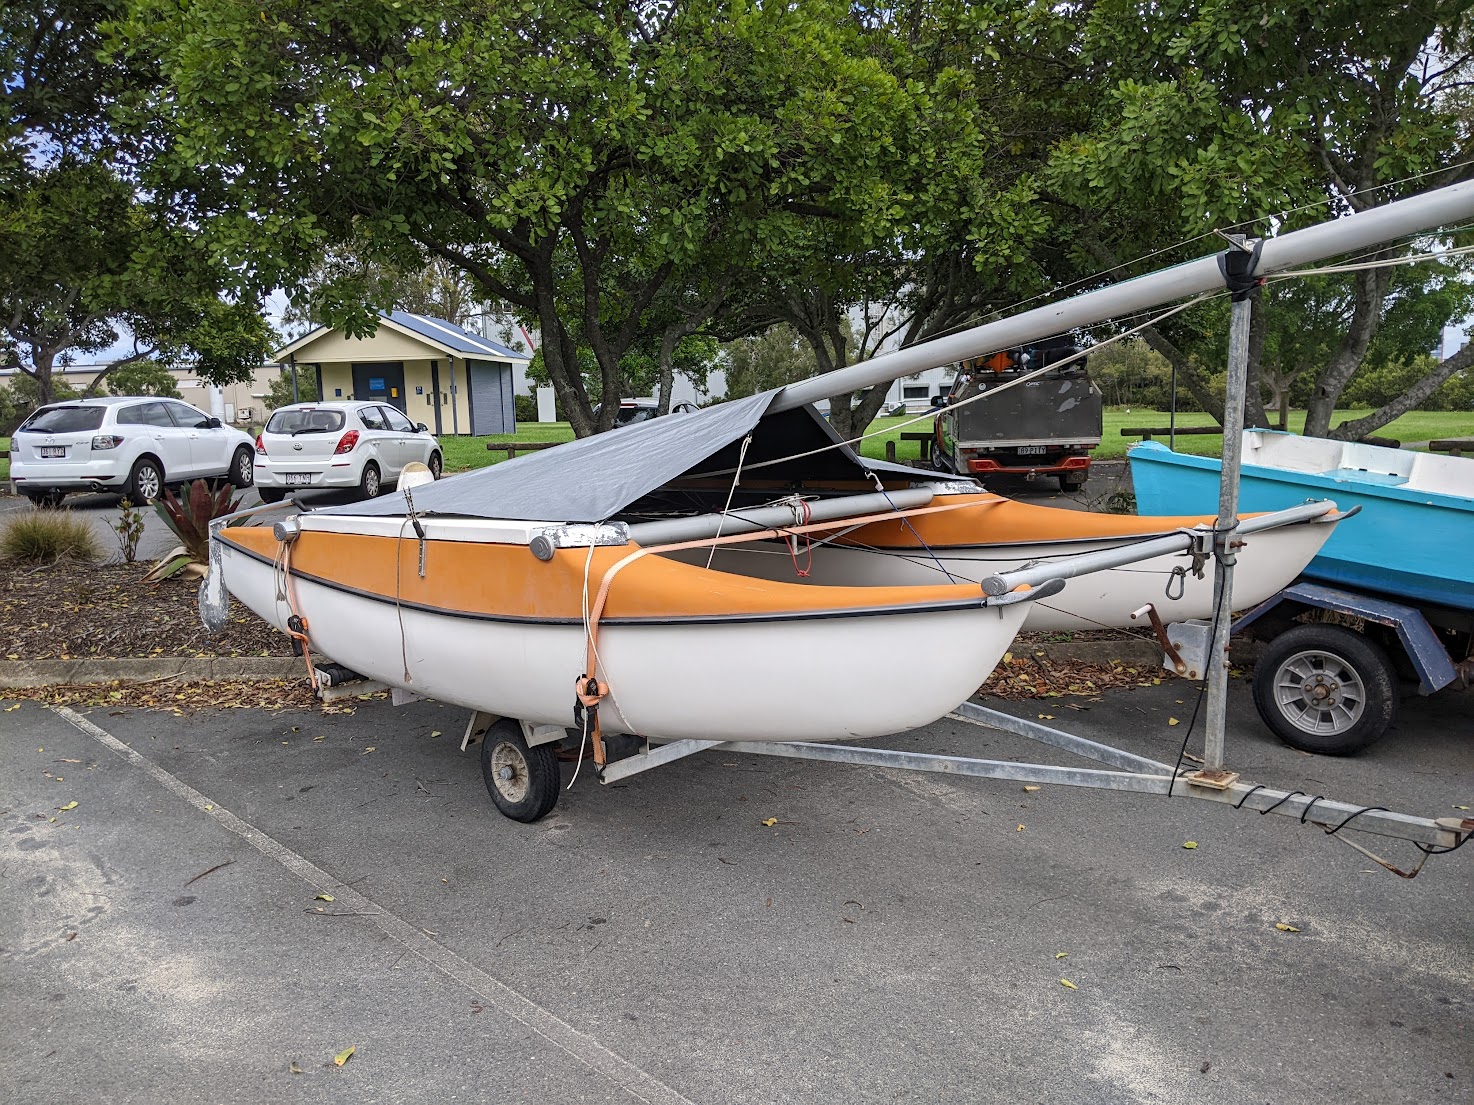
This time we were on the road by 10:15 and ready to sail by 11:00. Still room for improvement. This included a distraction: At the boat ramp we spotted a sibling: another caper cat!
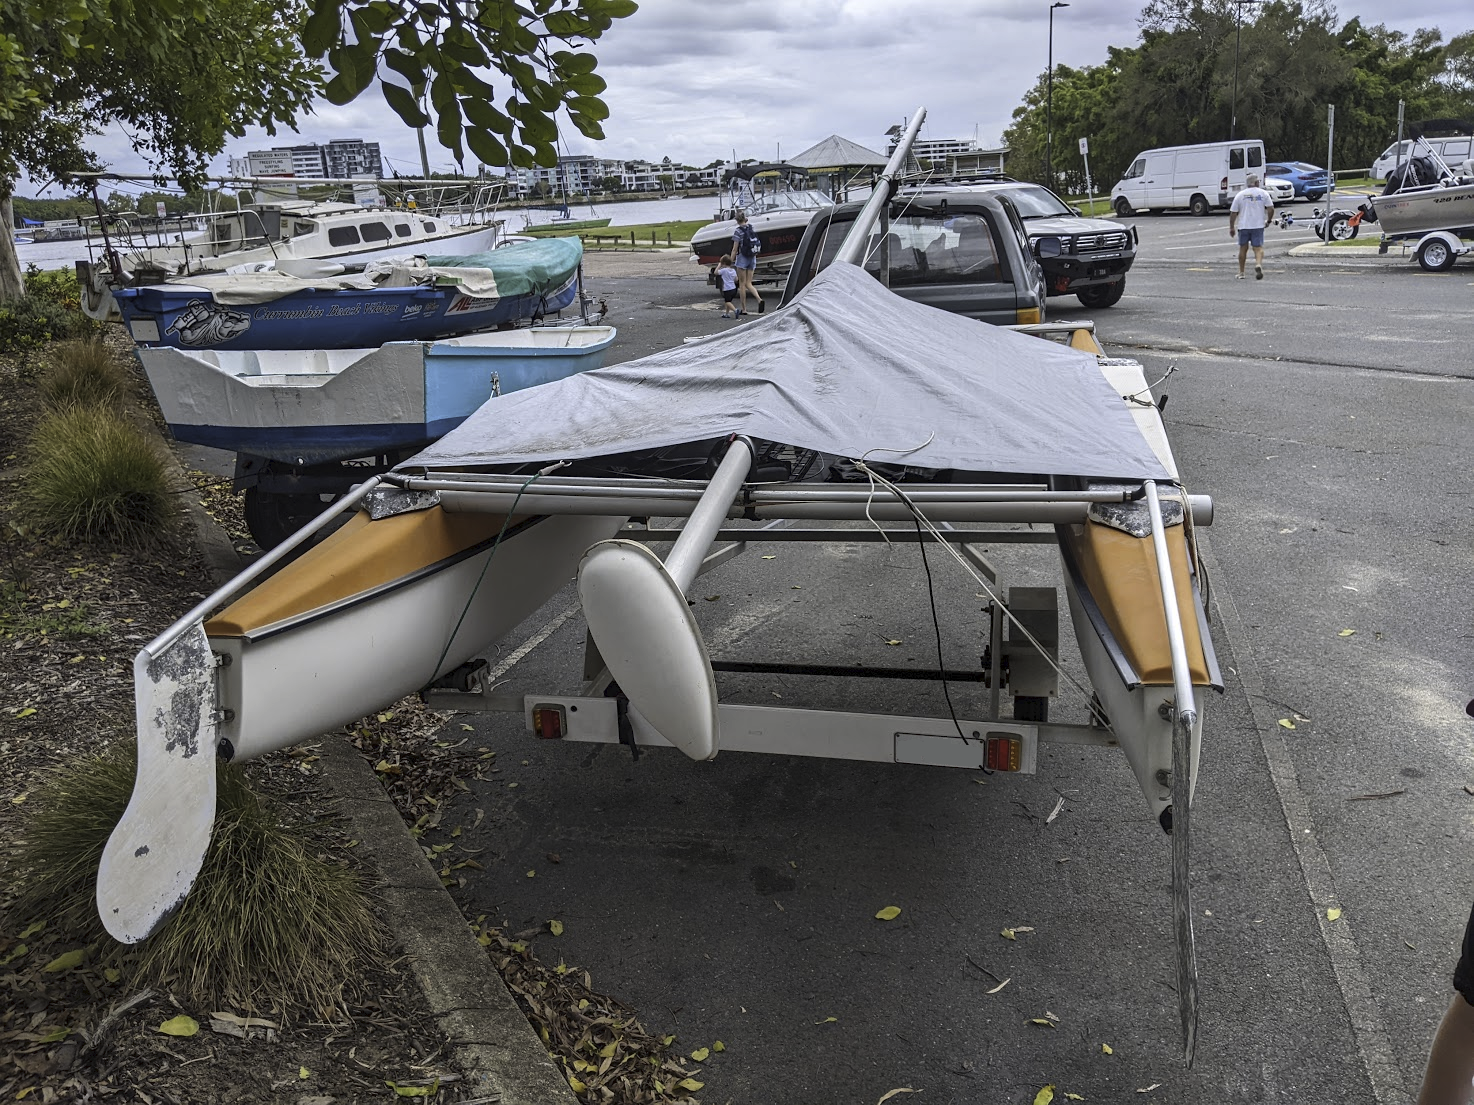
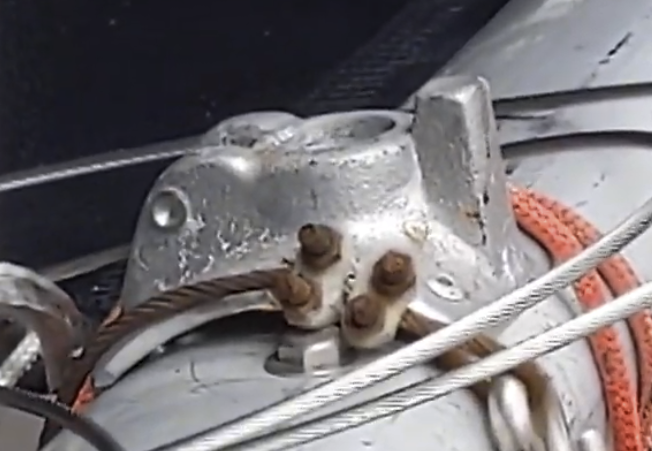
It looked a little more weathered than ours. It had the same corrosion on the rudders. It also had an improved mast step and base arrangement
It looks like it has an open hinge that would let you raise the mast by pivoting it upright, pulling on the forestay, rather than lifting the mast straight up into place. Colour me interested. This would make raising the mast significantly less perilous.
On the water
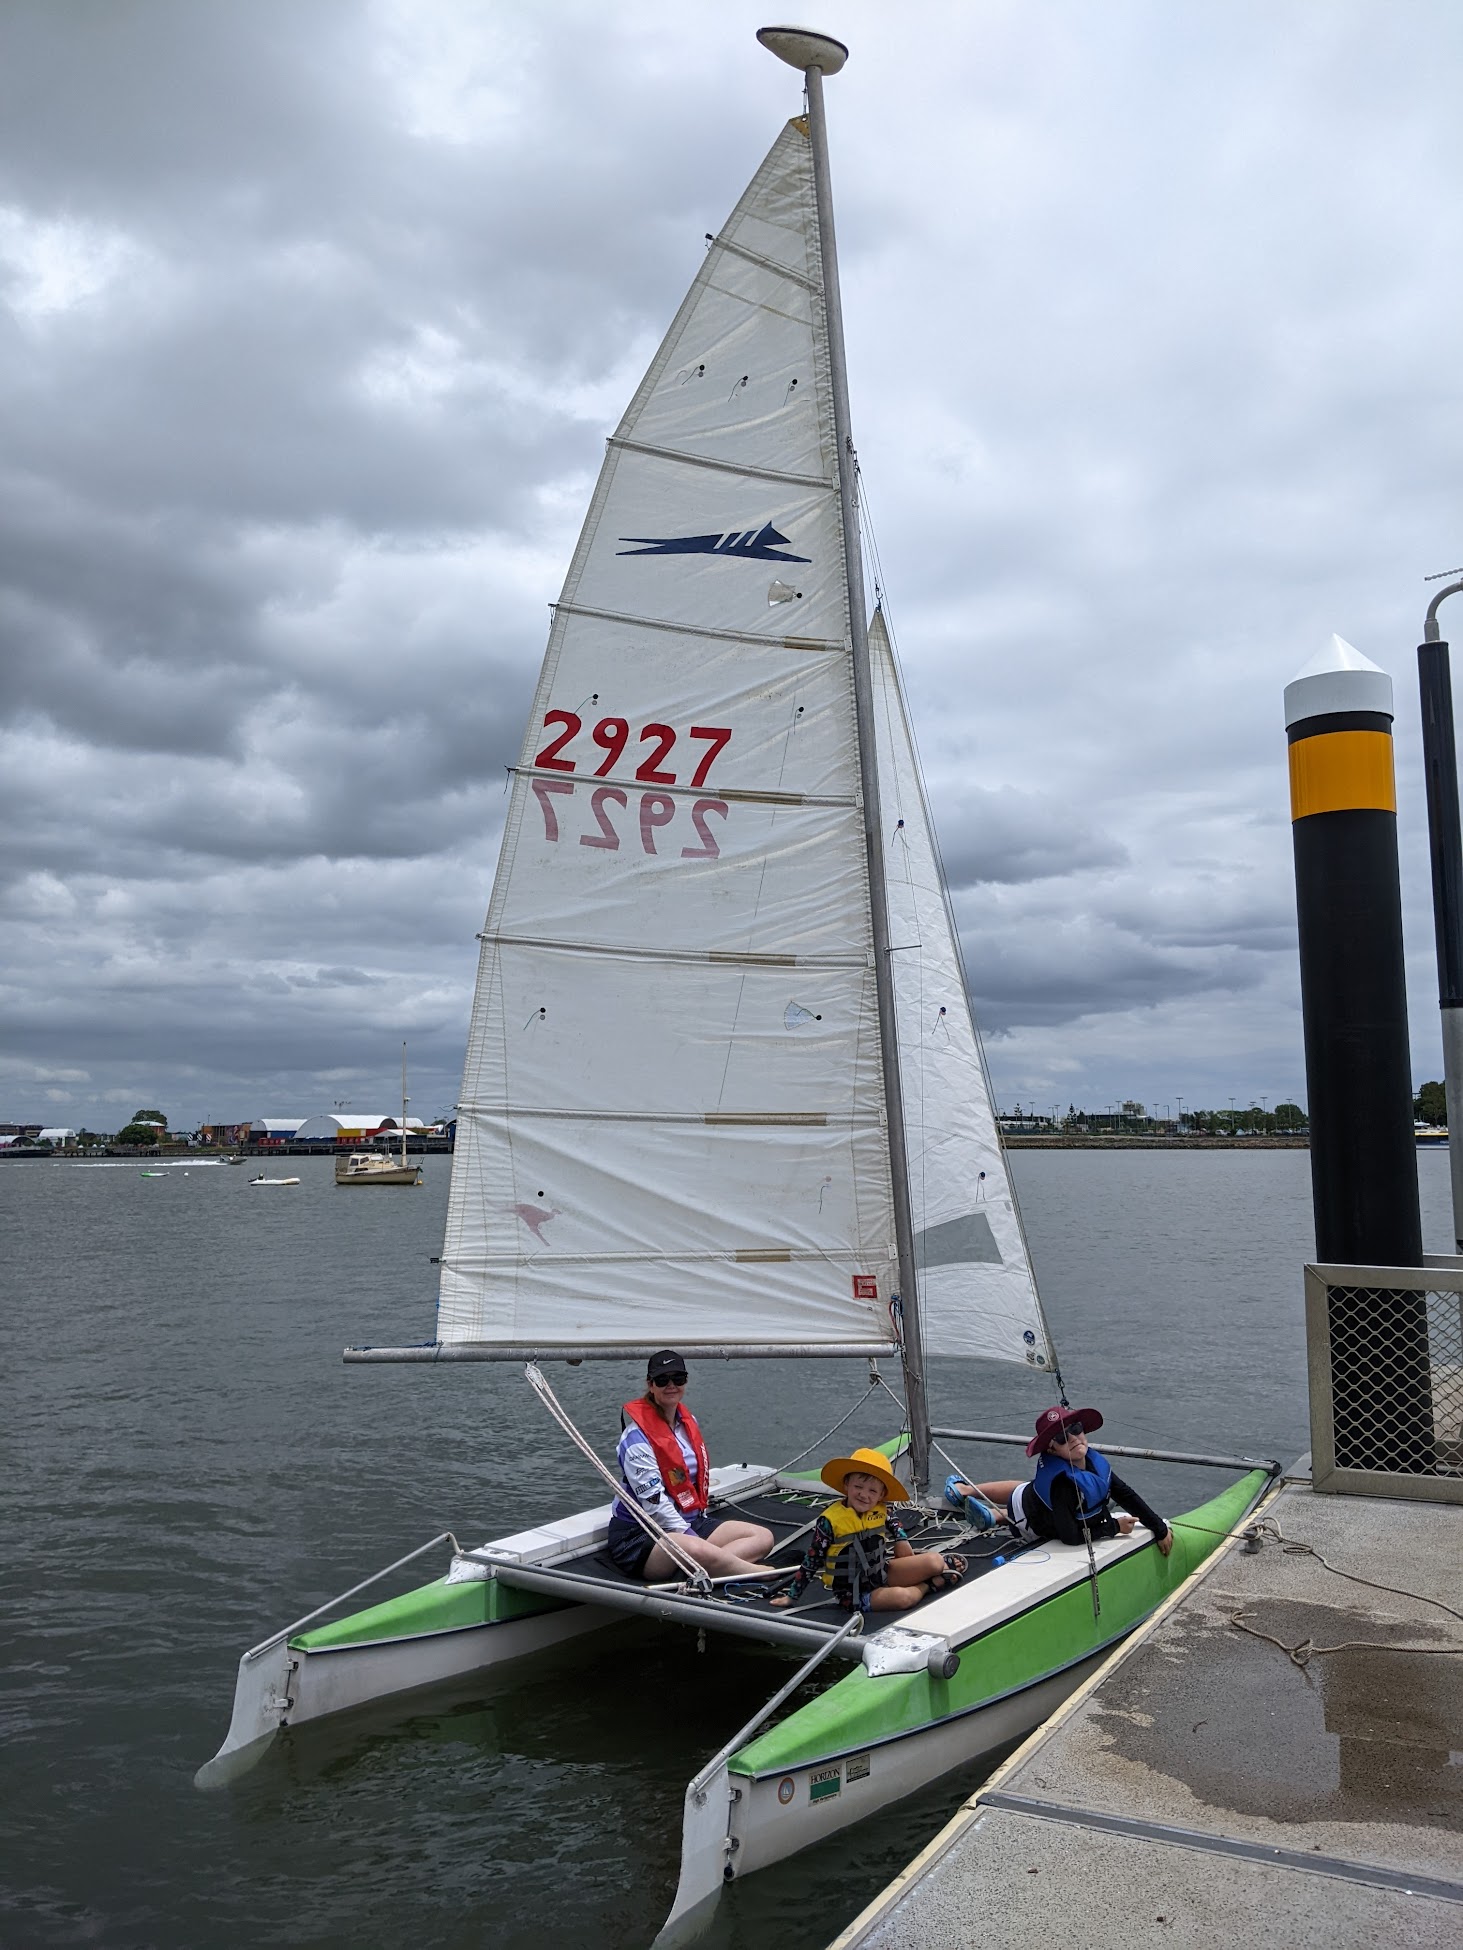
Conditions were even more perfect than on our first sail. A gentle, steady breeze and an overcast sky. We cast off with the goal of sailing around the pillars of the gateway bridges. Alex and I had sat down the previous night with some books about sailing and I talked him through the basics of tacking and gybing. The goal was being able to leave him in charge of the jib. He did really well! These catamarans don't have a keel, so we can't point as far into the wind as we could in a keelboat like the Elliot 6, so tacking from one side of the wind to the other takes a little while. Power from the jib is pretty important to pull the boat out of the tack, so on a few occasions we had to abort a tack, let the current carry us downstream a little way, then give it another shot. After about five tries goes our success rate was above 80%.
At some point Michelle's hat flew off into the water. We performed a shonky man overboard maneuver to swing around and pick it up. Unfortunately we went straight over the top of it and it sank forever. This marks the start of a trend.
We were able to cruise straight upriver along the north bank for a while, watching out for stray drives from the Royal Queensland Golf Club. We sailed under the bridge, waving to the people fishing around the piers. On the east side we spotted a citycat moored next to a building with a yamaha logo on it. Do citycats have yamaha engines?
The trip back was straightforward and uneventful We did a few practice gybes for excitement, as long straight downwind runs can get a bit boring. Getting the boat back onto the trailer was a struggle – we must've fluked it the first time. Eventually we got it up and out of the water. When we pulled the bungs out I was hoping the left pontoon would be dry thanks to my repair work. ¹ Mais non! Even more water than last time poured out. This sail was a longer one, so I suspected a linear volume-to-sailing-time relationship. The hunt for the elusive leak would continue.
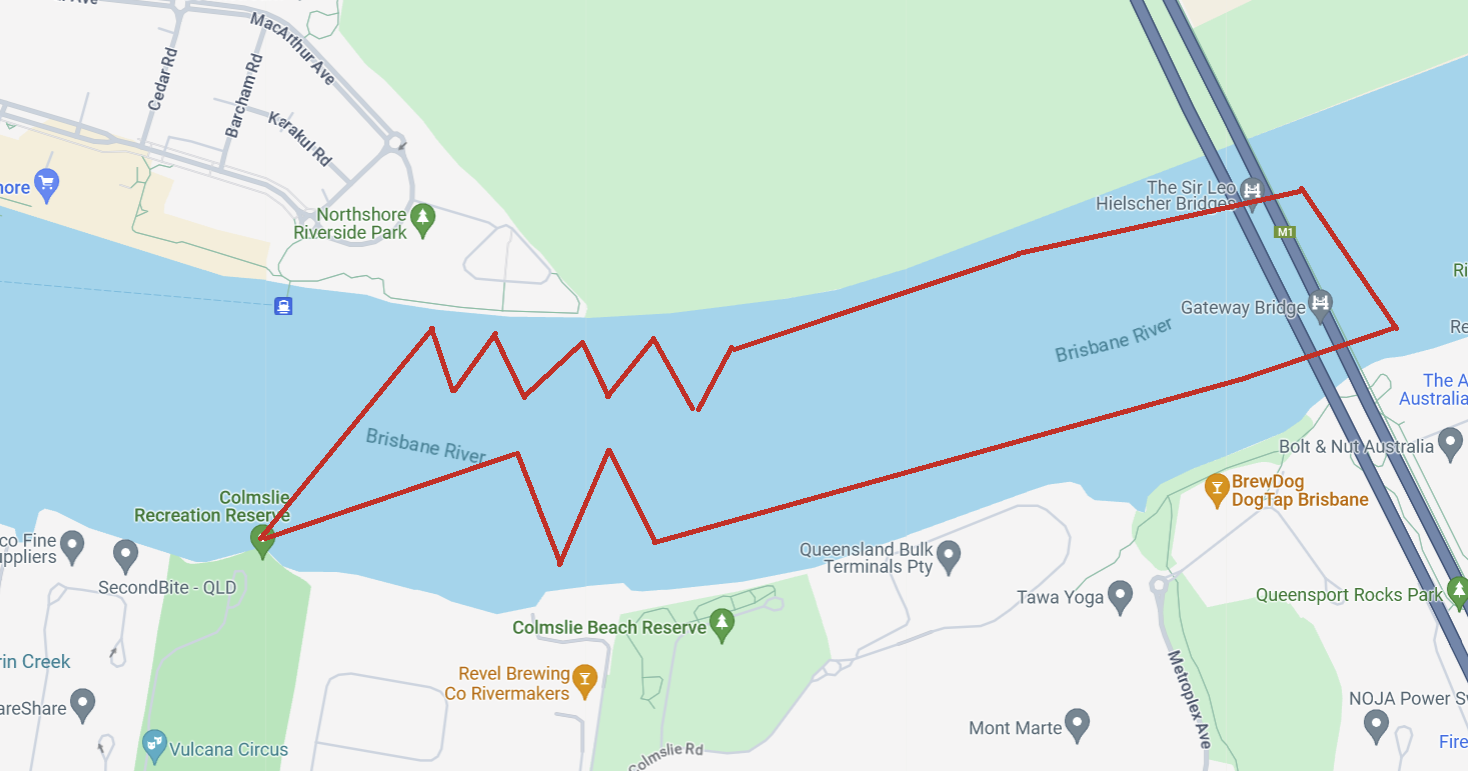 A very approximate map of our trip.
Back home
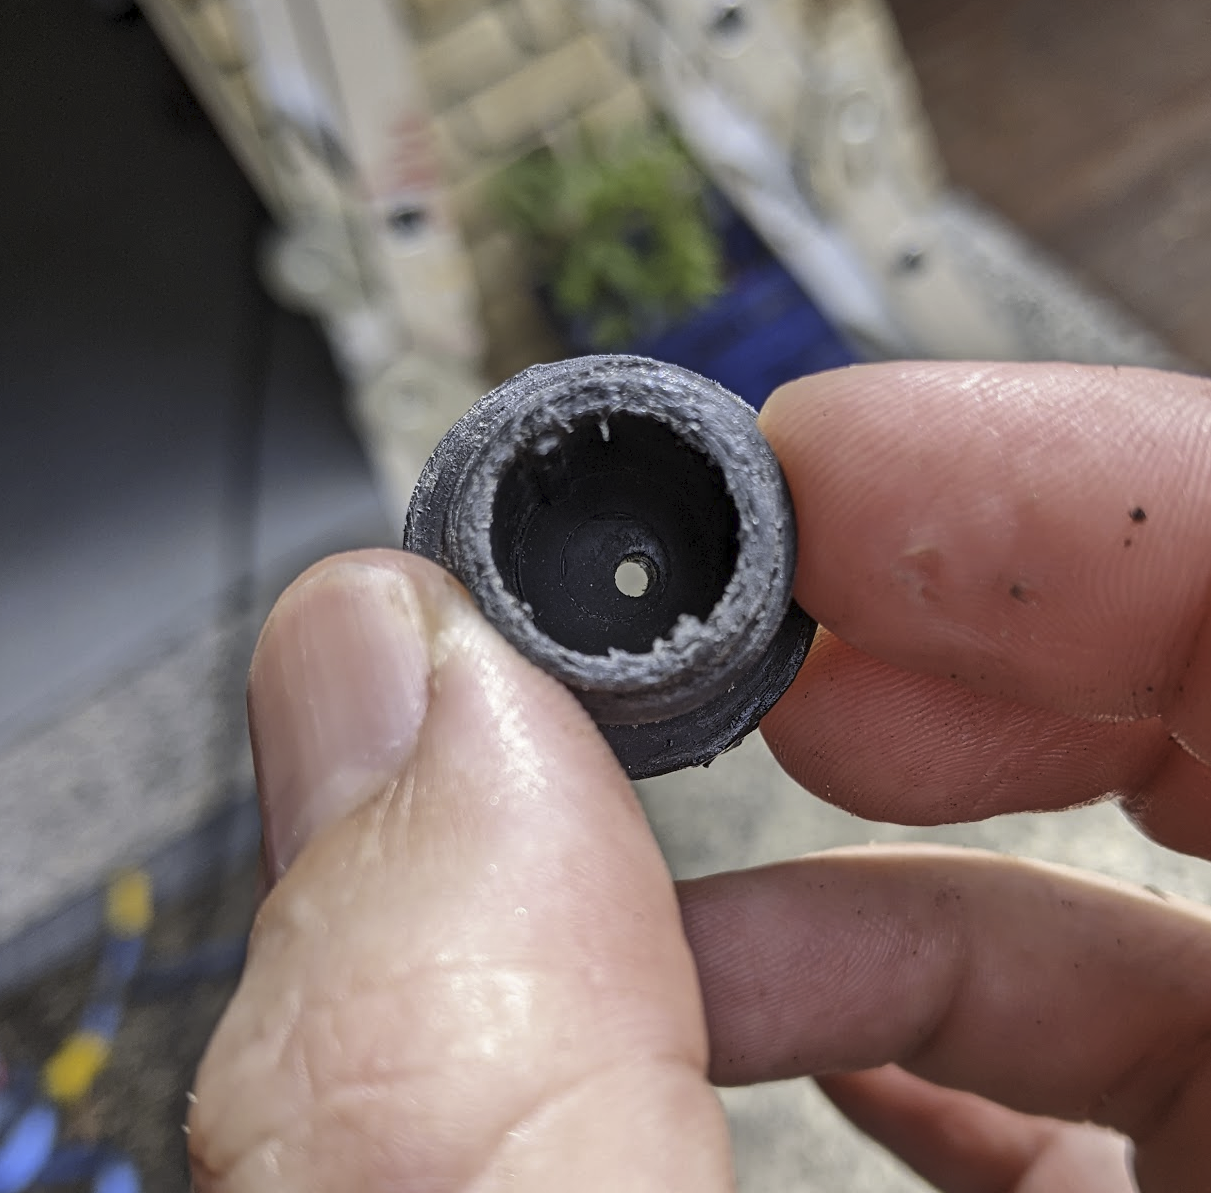
Once we got home and I'd hosed things down, I re-pressurised the hull and went on another thorough leak search. Again: nothing. Out of desperation I put the hose in the bunghole and squirted a heap of fresh water in, then put the bungs in. Lo and behold! A leak! The bastard bung itself was leaking! I'd replaced the old crumbly o-rings with roughly-correct ones from a big kit'o'rings, so my initial assumption was that I'd sized it wrong. But then…
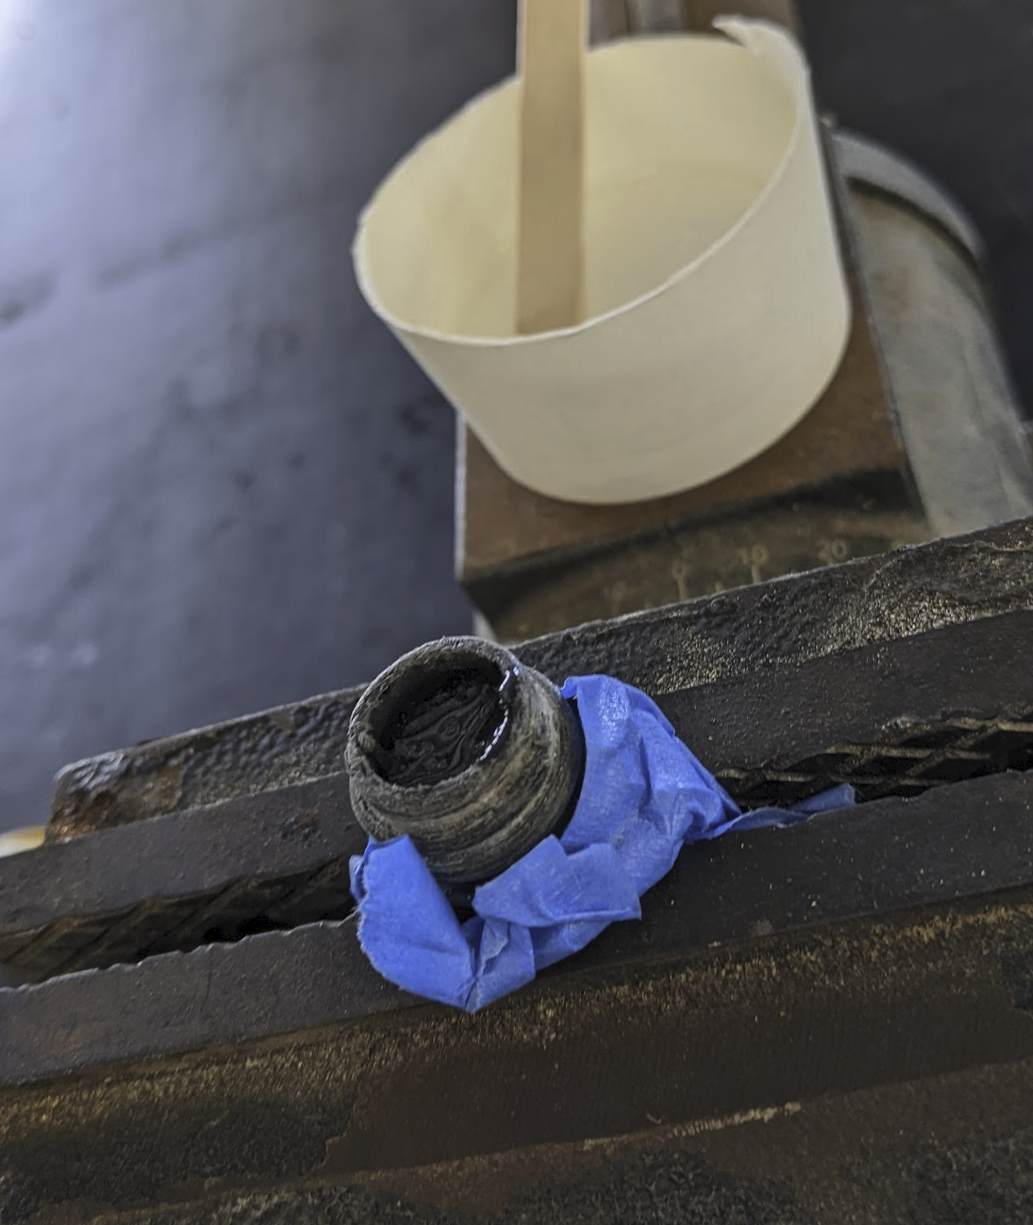
The bloody bung has a hole in it. Putting aside elaborate soap opera theories of sabotage I decided the most likely explanation was that these bungs are the same size as those used to hold the lids on the pontoons. At some point this might've had a string threaded through it in its duty as a lid-holder-downer rather than a water-keeper-outer. I mixed up a batch of the world's fastest epoxy and glorbed it into the bung.
Definitely really completely fixed now. For good.
